Showing posts with label Terrain. Show all posts

Wednesday, March 3, 2010

Airborne Assault

My buddy, DJ Dildonic, has taken an interest in Flames of War, and we've been playing a few little games, but it was finally time to roll it all out and play big. So we went all out on the table lay out, and he pushed around my Panzergrenadiers while I got some advanced training in parachute assaults. We played using whatever they call the Airborne assault mission in D-1, "Seize and Hold," or something like that.

Oh and hay, I usually don't say this any more but I kinda like some of these pics, so "right click, view image" to see it full-size.

For extra flavor, the objective models we used were in fact the guns from an 88mm AA battery, pointed skyward. They were not to fire in the game, but, "Secure the town and silence the guns," sounded to us like a very Paratrooper thing to do.

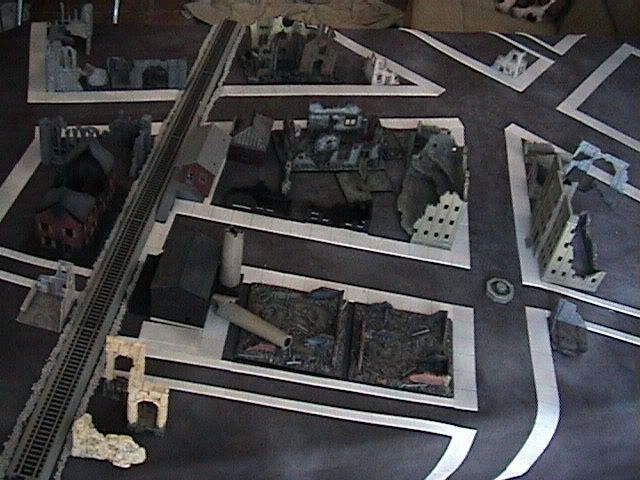
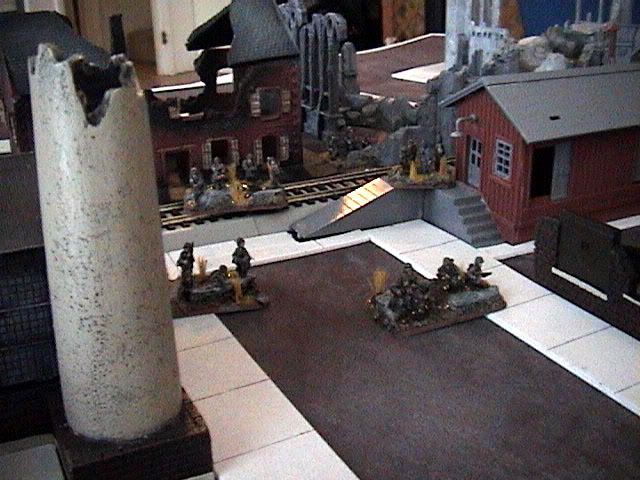
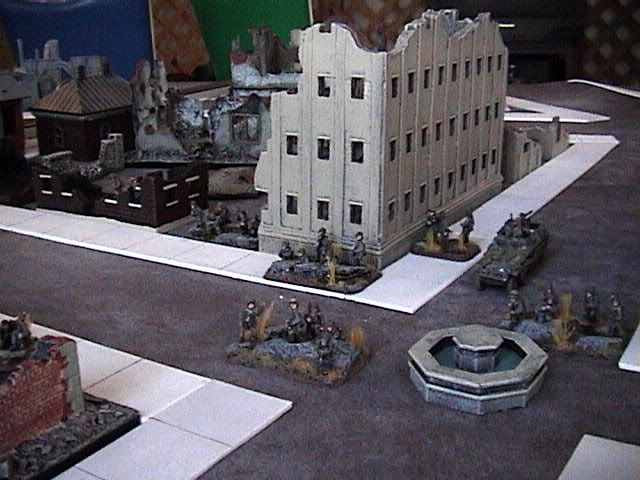
Ariel reconnaissance provided the following photographs before the battle:


.


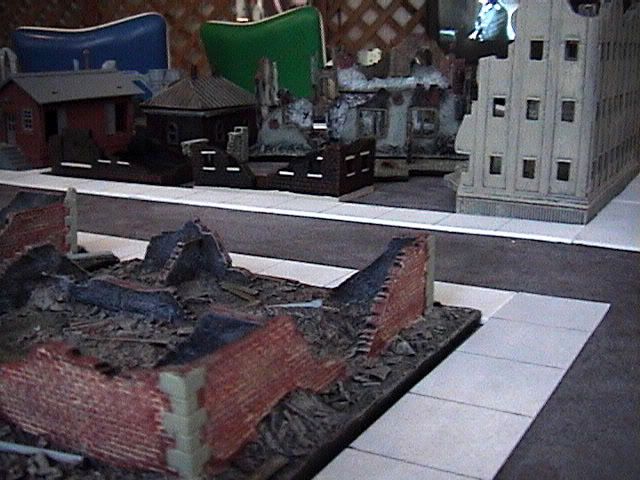
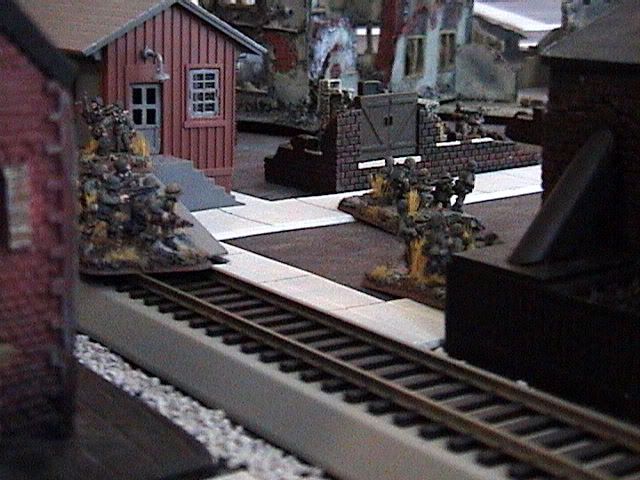
Local resistance fighters also supplied useful, ground-level views of the town (executed here with buildings from The Miniature Building Authority.)


Just before the opening rounds were fired, my Pathfinder was inserted at the proper position, referred to by the troops as "Corner 4." This man knows his job, too, as 100% of my force, and about half the enemy reserves, entered play via this corner. It got crowded.


As planes flew over head and angels fell from the sky, the Hun was quick to rally his troops and move them into position (they'd been fooled my counter-intelligence, and the removal of one objective.).


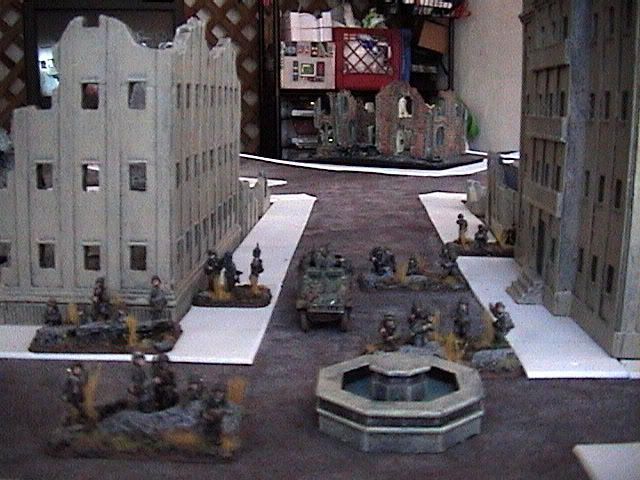
The first few turns went fast and furious, with all the action centered around Corner 4, with a battery of quad 2cm rolling in on Turn 1 and a Panzergrenadier platoon showing up in the same place on turn 3. This is what it all looked at by the end of my turn 4:


Leaving the guns to fend mostly for themselves, 2nd and 3rd platoons started moving into position, with 3rd making a flank move around the farm and 2nd moving past the bogs towards the objective.


2nd Platoon encountered light resistance:


But were soon in position to threaten the nearer of the two guns:


A few tanks threatened a counter attack, but were destroyed by combined artillery and close assault, forcing a failed moral check by the rest, who left the field. And with that, I had technically won the scenario.


But we didn't feel finished, we both still had a bunch of crap on the table, and hay, it was only 1:30 am, right? The solution was obvious: just keep playing, and fight over new objectives that made sense. There were a few loose teams that could have annoyed me on the way to the other 88mm, but they were clearly not going to stop me. So the Germans abandoned the town, and right then and there we started a second game: could Dildonic get out of the town? More importantly, could he blow the bridges before the Allies could get across? This was a very achievable goal, as I had the whole town and most of his force between my men and the river bridges.


And thus, the race was on. I made liberal use of Truscot Trot as my boys hauled ass around and through the town to get into position to stop Dildonic's demolitions attempt.


As 1st Platoon ran around the church they were intercepted by a platoon of Puma scout cars, of whom short work was made.


Aircraft (Skytrains subbing in for P-47s) made a constant, if irrelevant, showing in the fight.


In the end, it all came down to his attempts to blow the bridge -- the one bridge blown would, in our minds, win the game for him. After all, what goods a town if you can't advance an armored column through it? For this part of the game, we adapted the rules for blowing bridges from the Firestorm: Bagration campaign rules. Basically, you need a guy to pass a skill check at each corner of the bridge, then back up an make one more to blow the thing. One team failed the first check, leaving him hanging there for that one more turn I needed to sneak something up there.


The combat action ceased with my scout's acceptance of the German surrender on Turn 10.


And hay, it was only 5:30 am!

Wednesday, August 27, 2008

Swamp Tile Close-Ups

Just for fun, and to sort of fill an ancient request, here are a few extreme close-up shots of my swamp tile. As always, click to make 'em bigger (someone let me know if that doesn't work, OK?)

Photobucket

Photobucket

Photobucket

Photobucket

Photobucket

Photobucket

Monday, August 25, 2008

Terrain Tile IDs

A while back, I needed to let someone know what I had in terms of terrain tiles, so I took these pics. In case this ever comes up again, I'm posting them here.

These are all 2 x 2 foot, 1.75 inch thick.

Photobucket

Photobucket

Photobucket

Photobucket

Photobucket

Photobucket

Photobucket

Photobucket

Photobucket

Photobucket

Monday, October 1, 2007

New Table! Urban Table Mat


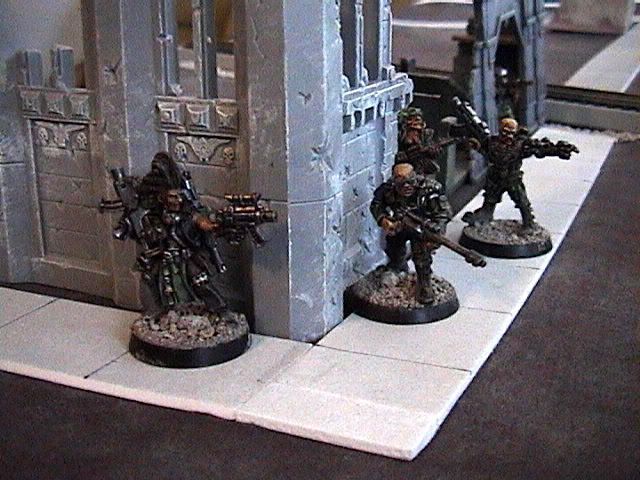
I just finished my new, quick and dirty, urban games table. OK, urban games table cloth... but it will work. I didn't want to put the same level of investment into this one, in terms of time, money, storage space, etc., as I'd put into my standard woodland/green fields terrain tiles, so I went with a simple throw cloth. Of course, I had to take that idea and run with it a bit.

Photo Sharing and Video Hosting at Photobucket

I started out by picking up a few yards of dark gray cloth at the fabric store. I didn't want hard black, since pavement lightens up so quick. I didn't like the idea of a hard, solid gray color, either. I wanted to give it a mottled, patchy look. My first try at this was to mist it in a patchy pattern with diluted bleach, but for whatever reason (probably not enough bleach in the mix) that didn't really do much of anything at all, so I hit the whole thing with random splotches of white and light gray spray primer. This gave it just the patchy, faded look I wanted. Too bad it didn't really stick -- by the time I was done with the project, most of this paint had rubbed off, and I was mostly back to flat gray Oh, well.

Photo Sharing and Video Hosting at Photobucket

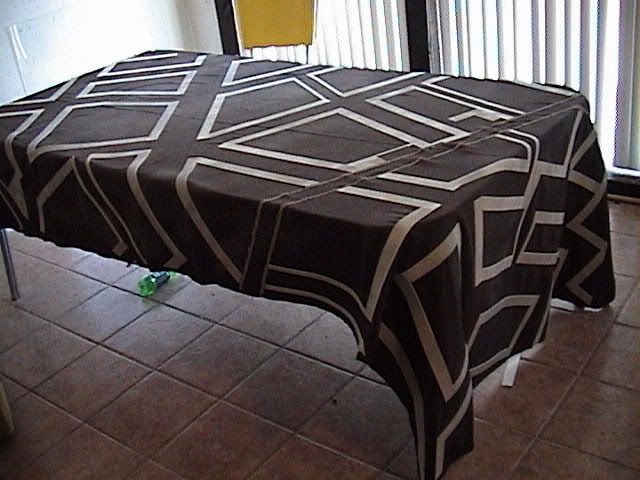
So, How to mark this thing up for streets? At the last Birmingham Flames of War tournament, one of the table's we'd had set up was an urban setting. It was built of modular boards, but the thing I really liked about it was the raised curbs. They made nice positions to fit in the resin buildings, especially since several of the buildings we had on hand seemed to fit into them like the table had been made for them. I really liked this effect, and came up with a way to replicate it on a cloth table without giving up the "roll it up and put it away," factor I was wanting to keep. I came up with the idea of using craft foam.

Photo Sharing and Video Hosting at Photobucket

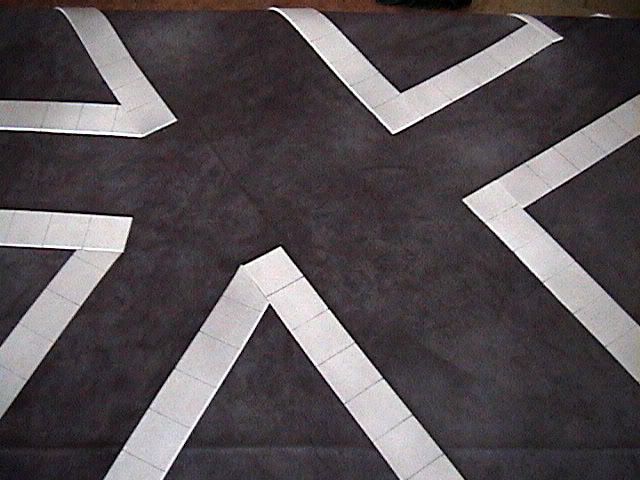
This stuff is sold in the major craft store chains, marketed to children's arts and crafts projects. I found sheets of it about 1' x 1.5' for about $.97 each. Since I didn't like the stark white look, I gave them all a quick mottling of gray spray primer, just what I had on hand. I wasn't going for an even coat, I really wanted to give them a patchy look. Then I just cut them into strips about 1.5" wide -- whatever width my widest ruler is. I also cut some about .5" wide to make side-streets.

Photo Sharing and Video Hosting at Photobucket

I spread the cloth out on the table and started playing around with the buildings in my collection. At first I had all these specific plans on how I wanted to lay out the streets, but in the end I threw all that out the window and just ran with it. All I really tried to do was keep a few general principles in mind -- avoid a square grid on the table; avoid roads leading directly off the edge of the table at a right angle. It was surprisingly hard to avoid the grid pattern, but in the end I'm happy with the layout I achieved. Most of the city blocks are generic in size and shape, but a few of them were cut with the irregular foot prints of specific buildings in mind.

Photo Sharing and Video Hosting at Photobucket

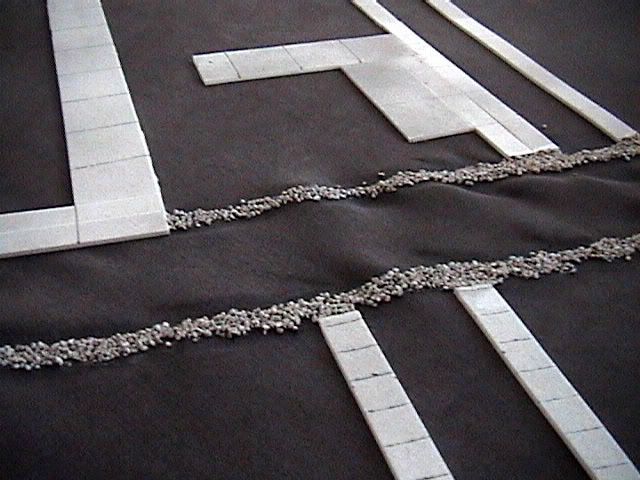
Once I'd shuffled everything around a bit and was happy with the design, I started gluing down the strips of craft foam. I'm not sure of the brand name, but I used some really tacky, very sticky craft glue my wife had laying around. I just went around the table, trimming the foam strips and gluing them down. Somewhere along the way I decided to lay a rail line through the city, so after I'd glued down all the strips I laid down two thick lines of glue and sprinkled model rail road ballast onto them to indicate the gravel at the sides of the track. When it was dry, I knocked off all the excess and painted on a coating of diluted white glue to help hold it all in place.

Photo Sharing and Video Hosting at Photobucket

The last step was to mark the cracks in the side walk. I cut a piece of scrap plastic into a 1.5" wide strip, just because it would be easier to use than a full ruler, and went along the foam strips with a fine tipped dark gray marker, drawing in the seams from the poured cement. This may have been the hardest step in the project -- for some reason, the foam (or maybe it was the primer) just ate markers alive. I went through 3, plus one dud I picked up at the craft store that never drew a single line.

Photo Sharing and Video Hosting at Photobucket

When I was done, I laid out my rather meager collection of ruined city buildings and admired my work. At present, I only own enough to cover a few feet worth of the table, but I made the cloth as big as I figured I'd ever want it. For one, I didn't feel like making another city cloth later. More importantly, though, I wanted some form of variability to the layout. The entire cloth is about 4x9 feet. Since most games with specific City Fight rules, like Flames of War, do their urban games on a reduced-size table (say, 4x3 or so) I could shimmy the cloth around and use different sections of it each time we played, sort of like an old side-scrolling video game. This wouldn't be truly modular or changeable, but at least it would give some flexibility.

Photo Sharing and Video Hosting at Photobucket

I tried to keep the scale pretty generic. While I was mainly thinking of Flames of War while I did the layout, and almost all of my city buildings are in 15mm scale, I wanted the cloth to be able to serve double duty and stand in for 28mm skirmish games. While its been years since I've played 40K, Necromunda, or anything else in 28mm, I'm sure I'll pull out the giants against some day, and I think sidewalks of this size won't look completely stupid in that scale, either.

Photo Sharing and Video Hosting at Photobucket

So that's about all it took. I didn't have much time for modeling over the last two weeks, but even just putting in a few evenings while watching TV and sipping my morning coffee I got the whole thing done in about two calendar-weeks. I could probably have knocked the whole thing out in two solid working days -- the only really time consuming part was marking all the stinkin' side walks, mostly because as my markers died I had to go over each line three and four times!

Photo Sharing and Video Hosting at Photobucket