
As part of their efforts to not get blown up in Russia, the German army in WWII mounted all manner of stand-off armour to the sides of their tanks. Called schurzen, these plates were never intended to stop cold incoming AT rounds, but rather to cause shaped-charge AT explosives to blow up several inches away from the armour. While they didn't do anything to high-velocity munitions, they were of at least limited effectiveness against light HEAT weapons. This armour most often took the form of large, thin sheet metal plates suspended from a bracket running the length of the vehicle, and this is by far the type most often depicted in miniature. But other materials were, in fact, used. I've seen pictures of wood (both cut planks and raw logs) and mattress springs (there is some debate over this -- were they reused mattress springs, or purpose built items that just looked like mattress springs?) used in this manner. However, what really caught my eye were some pictures of mesh schurzen, like this one:

Apparently, the mesh was enough to detonate HEAT rounds but light enough that it didn't affect the tank's performance to mount them. Whatever, they look cool! Thus began another modeling project...
Materials:
wire mesh
thick paperclip or wire
thin paperclip or wire
super glue
This project sat on the drawing board for a while, until I found the right
 kind of mesh. I'm sure you could get it done with other stuff, like window screens or something from the hardware store, but I found this stuff at the local Hobby Lobby:
It has a very fine weave to the wires, is very flexible, and fairly strong. Just what I needed! It comes in a single large sheet, so I'll be using this stuff for quite a while -- I've also come up with a way to use it to quickly model canvass tents, but that's for later.)
You can use whatever kind of wire you like for the frame, but it will look better if you have wire of two different thicknesses. I like to use paper clips (bent back to straight) for these kinds of things -- they are handy and very strong for their size, especially the older steel ones.
Step 1: The Frame
First you'll need to make the frames for your schurzen. For this, I recommend bending the wire around a template. I used a metal schurzen from Battle Front as a template, but you could just eye ball it if you wanted to -- schurzen do not appear to have been any kind of standardized. You could cut a template from plastic or something else, but for me the metal schurzen was the obvious choice.
Take a thick paperclip and bend it around the edge of the schurzen template. I wish I had a picture of this step, but didn't think to start taking pictures until further in. You won't be bending the wire around the surface of the template, but along its edge.
Once you have it bent into the proper shape glue the ends together so that you have a loop of metal in the shape of the schurzen profile. I cut the ends of my paperclips off at an angle to that the joint would fit better. Go ahead and make up two of these for each tank you are outfitting with mesh schurzen. That way the glue on the first one will be good and dry by the time you get done with the rest.
Step 2: The Mesh
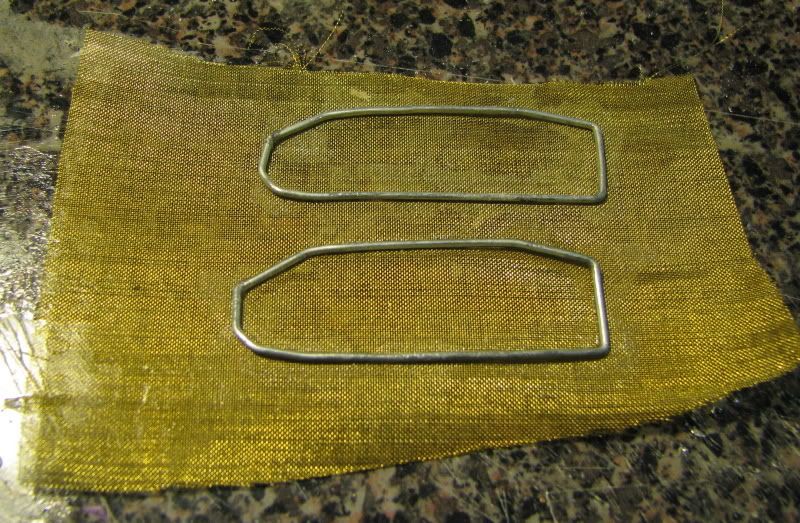
Take out a section of wire mesh at least a bit larger than the schurzen frames, lay it on the table, and glue the paperclip frames down to the mesh. Be careful that you don't glue the mesh down to the table. You will probably have to push the mesh into position against the wire and bend out any twist the frame may have in it. That really doesn't matter much, but you do want a nice firm bond between the mesh and the frame. Again, do the whole batch together, allowing them to dry before returning to the first.
Cut lengths of the thin paperclip to make the supports of the frame. I didn't measure and precut these, since there is some variance from one frame to another and you want a tight fit. You might get things more standardized than I did, but I pretty much cut each support wire to fit. Glue these supports into the frame and to the mesh.
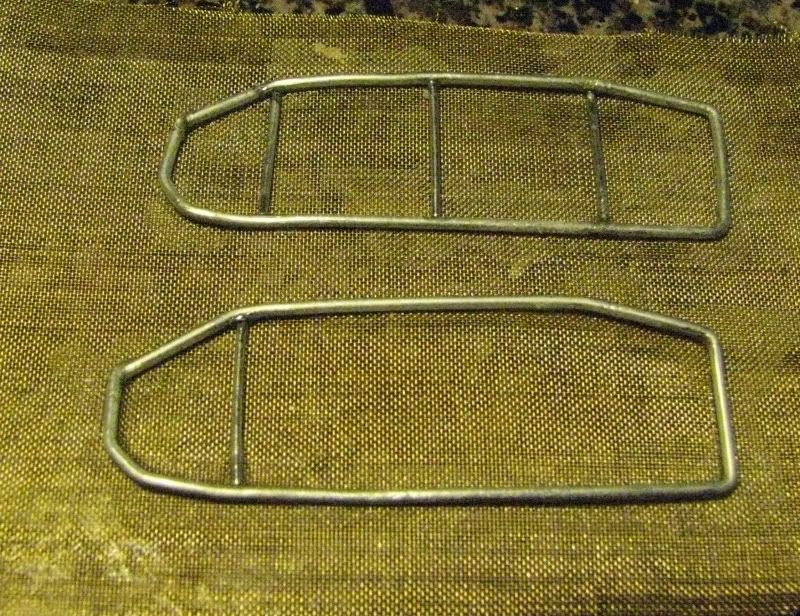
By this point, if you work like I do, you'll have a nice messy pile of glue and wire. Let all this dry thoroughly, you don't want to have to redo it.
Step 3: The Cut-Out
Using a sharp hobby knife, cut each finished schurzen from the mesh sheet. Don't worry about getting a clean cut, just get it off the sheet, then go back and clean up the edges. Your mileage may vary, but between the steel paperclip from and soft copper mesh, I was able to use the knife to shave off all the mesh outside the frame, using the paperclip as a guide for the blade.
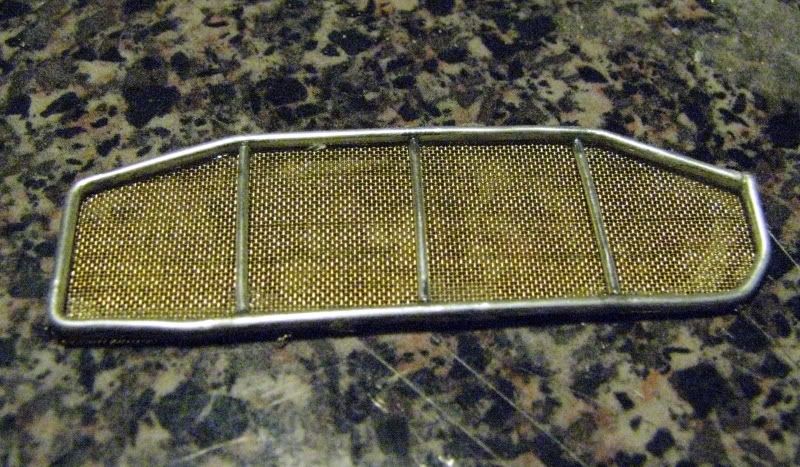
You can see through it! I hope you can still do that after I paint it...
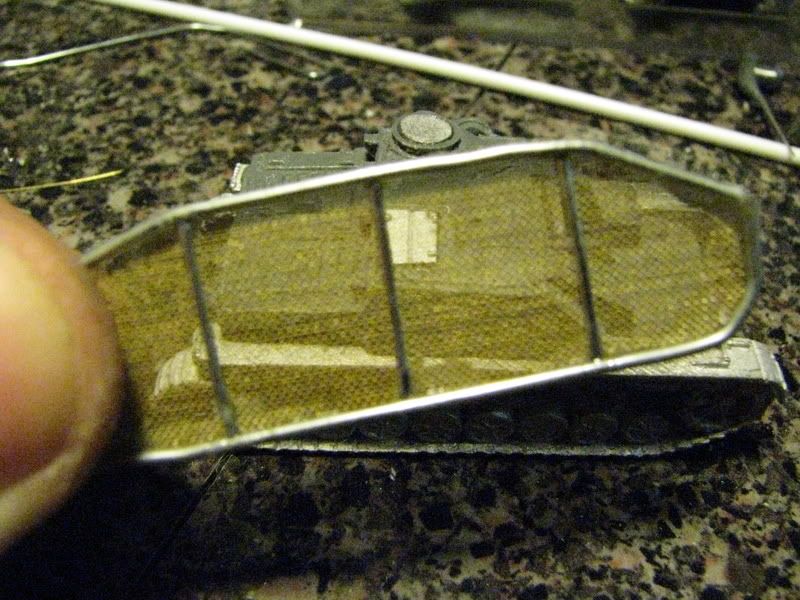
Step 4: The Mount
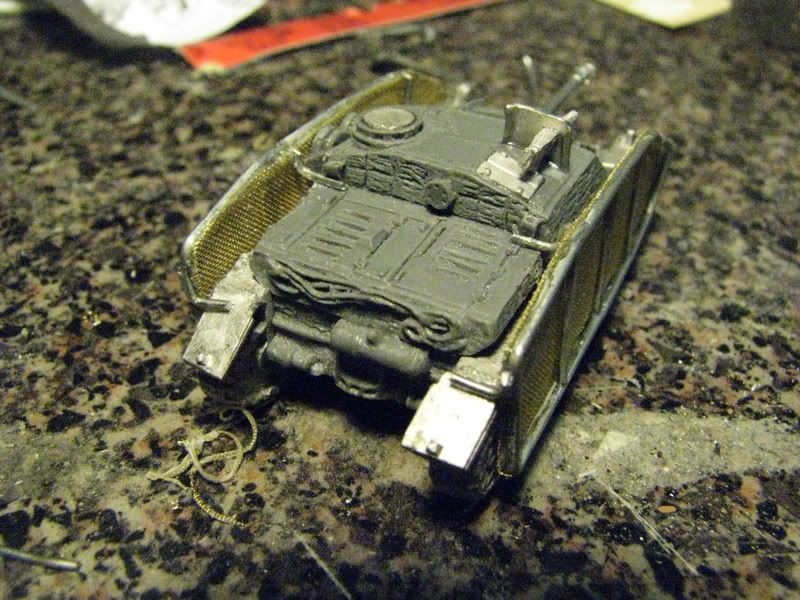
This step is really complicated -- glue the schurzen to the tank. There might be a fancier way to do this, but I went for simple and sturdy. I ran a bead of super glue along the top of the track and the side of the fender and just glued the schurzen right onto the side of the tank. This picture shows the supports added in the next step, but you get the idea.
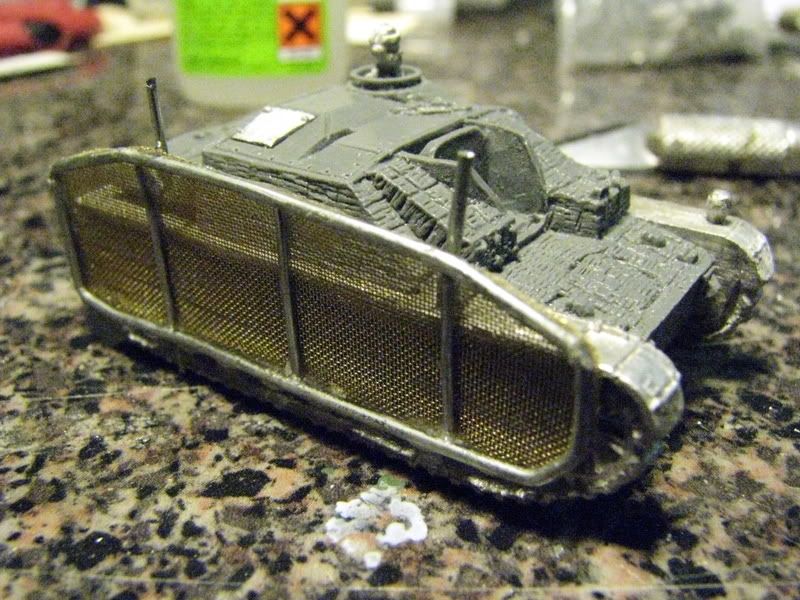
Step 5: The Supports
Using your thin wire, cut out length about an inch to an inch and a half long. Bend a nice, tight 90-degree corner about 2/3 of the way down the wire. I used three per schurzen, so you'll need a total of six per tank.
Once they are all roughly cut and bent you can trim up the first end. Holding them against the tank with the bend set into the joint between the schurzen and the tank fender, mark the spot on the short end where you want the support to stop. I didn't get to technical about the placement of the supports, they just need to look good and be sturdy. I tried to line them up so that I could glue each support to another wire on the schurzen, not the mesh, with the other end up against some logical mounting point, like the end of the armoured crew compartment or some other hull detail. Once you find your mark, cut off that end of the support wire and glue it into place.
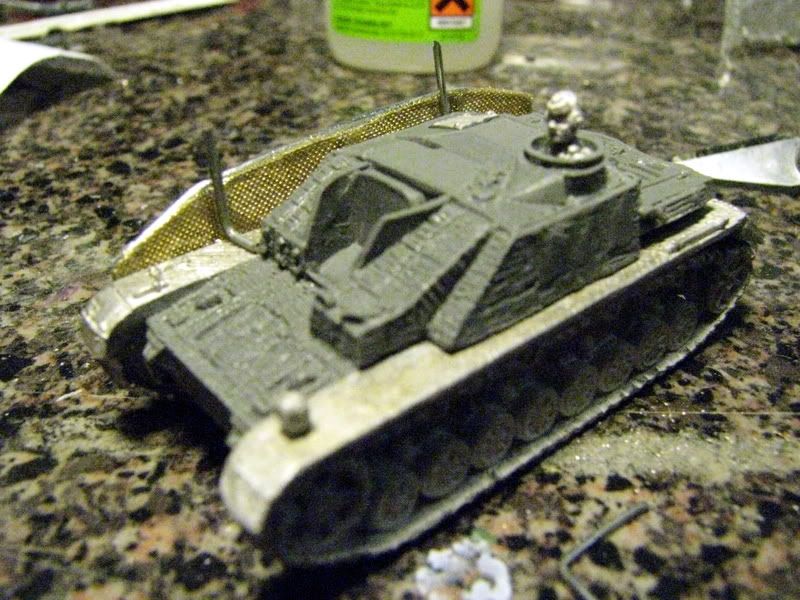
Let them dry completely, then cut off the excess wire sticking up above the schurzen. At this stage I added little decorative supports at the front of each schurzen, down by the track front fenders. These don't actually lend any strength, but they look like they might.
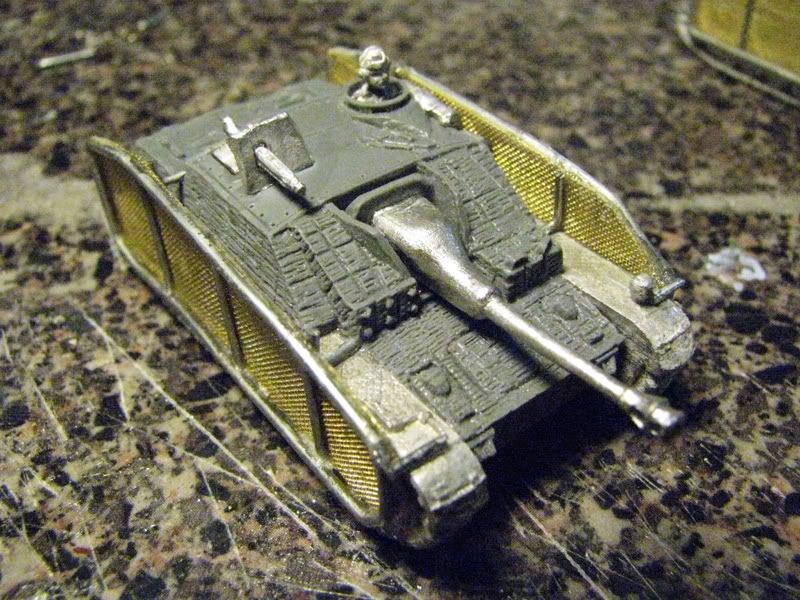
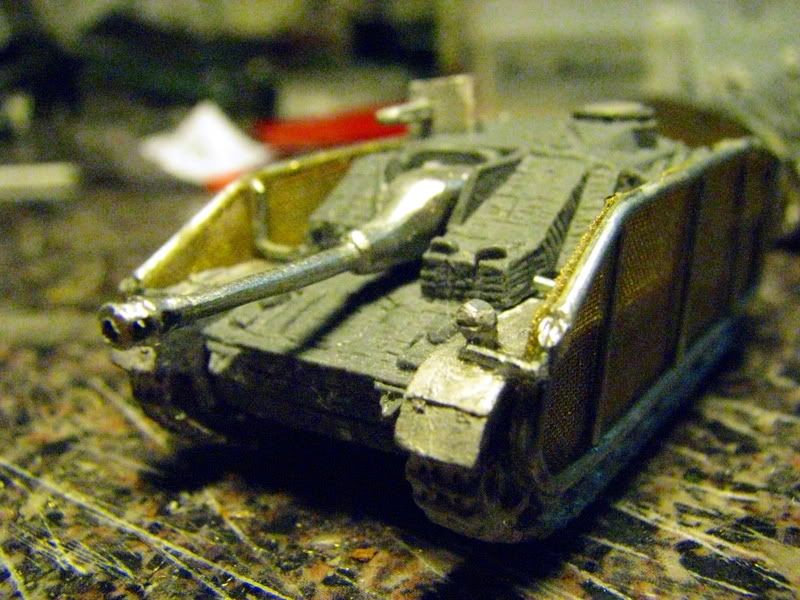
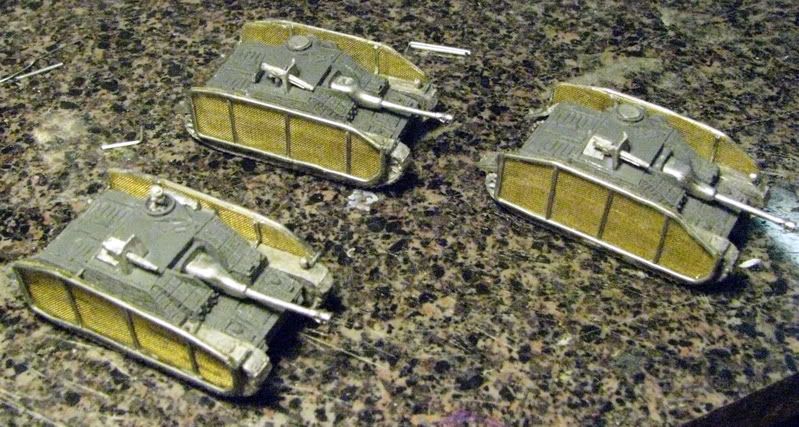
And that's about it -- not too difficult, and I cranked out enough for this platoon in an evening's work. They could be better -- if I had one of those fancy tools for precision bending wire parts the frames would be straighter. What would really be nice is a set of these mounted on Battle Front's new plastic schurzen supports, but I used those on the Panzer IVs they came with. Maybe I'll do some more, after they make the plastic sprews available for special order.


No comments:
Post a Comment