Showing posts with label Flames of War. Show all posts

Tuesday, May 11, 2010

Reverse Engineered Alien Arc Reactor

I'm about to go off and get my summer convention season started, which pretty much means little fiddly stuff is going on the back burner. Fortunately, I managed to get a few projects wrapped up before the shift. As a for instance, there was this little project I was working on, something with paratroopers, and its finally done, wrap, fine, completed. Even took pics of them all, I just haven't had time to clean them up. Hopefully that won't fall too far onto the back burner, but between the Steampunk World's Fair and ImagiCon, its probably gonna end up collecting dust for a while.

This, on the other hand, I'm just going to sort of toss out there.

Photobucket

Its a 15mm scale model of an alien arc reactor, recovered by... someone... in the 1940s, reverse engineered, and pressed back into service to power some infernal war machine. Its also close enough to the size of a Flames of War objective market for

Photobucket

It was a very fast, simple build that started out as a small plasma sphere I got from Edmond Scientific. Its battery or AC powered, and works a lot better if you hook it up to an AC adapter rated just a few amps higher than the device is speced for. I wouldn't leave it on all day like that, but its cool.

Photobucket

I took the plasma globe and covered the base in whatever junk looked right from the bits box, plus most of a 1/72 scale Vietnam war era jet support crew accessory kit I picked up some place. I have some figures to go with it -- three techs and a German officer on site for inspection -- but they aren't painted yet. I even made the floor of the elevator (where one tech and the officer will stand) removable so that I could make another later, or have FoW sized skirmish bases fit on there.

Monday, April 5, 2010

City Fight

A few weeks ago, Dylan and I played us a city fight. Here are some pics.

Here's Dylan!

Photobucket

Tactically speaking, this game played about like you'd expect a city fight to go. I made ready to advance up either side of the table, with a good punch extra on one side with my Shermans, matched on that same side by his Panzer IVs.

Photobucket

Photobucket

Photobucket

You can see here the Shermans getting into position to support the infantry advance.

Photobucket

One Sherman got particularly bold, and earned good kills for it. After the tanks were gone, this one Sherman spent the rest of the game making good use of his .50 cal (I'd have had more fun with American shermans rather than British, but that's what the list allows for).
Photobucket

The other Shermans, and the proxyed Firefly didn't last so long.
Photobucket

A Tree Grows in Brooklyn:
Photobucket


The fighting on my right side of the table was a side-show, and never really amounted to anything.

Photobucket

But on the left (the side with the tanks) both of us were gearing up for our Big Push. But, looking at those burning Panzer IVs, Dylan hesitated, and it was then that I made my move (I moved up so close and hit him with so much small arms fire that assaulting seemed like a good idea.)

Photobucket

Photobucket

Photobucket


The eventual assault

Photobucket

Tuesday, March 9, 2010

FoW - Walt Assaults Endor

I ran another teaching game of Flames of War in the basement this past weekend, this time with my old buddy, Walt. I didn't put quite as much time into the table for this one, so its not quite as fancy, but it sure was dense! Probably a little too dense, but hay, he's the one who out out all the tree stands. We played "No Retreat," from the Firestrom: Bagration book. I did a good bit of coaching aside from just teaching the rules, so Walt learned a bit more about what works and what doesn't and I still got some valuable insight into how to run a paratrooper army.

As the German Panzergrenadiers hastily prepared their support positions...


...the paratroopers of Easy Company dug into the woods through the center of the table.


Finally, the German attack was ready to begin.


Breaking his force up into two columns, each with a Panzer platoon and a Panzer Grenadier platoon, Walt began his advance with one group going up the center, the other through the woods on his right flank, and scouts advancing along the high ground to his left. My boys laid low, and I tossed a few artillery templates at him, to no affect.


By Turn 2 he was ready to kill him an observer.


Meanwhile, my boys explained to his tanks the concept of the 3+ infantry save, plus fox holes, giving the impression that Flames of War does, in fact, love infantry.


It wasn't a bad idea, going in tanks first, and he tried it on both sides:


I tried to tell him (OK, I tried to imply and suggest, without coming right out and saying it,) but these tanks don't know how fucked they are:


They learned.


After Turn 2, there were tater tots and pizza bites. My wife rules.


He was doing basically right, trying to hit me with his tanks while he got his infantry ready, he was just waiting way too close. The StuGs in the woods got mugged by infantry hiding in the woods and cave. The Panzer IVs up the middle got shelled into oblivion (two died and two ran away), and the Pumas never found anything better to do with themselves.


I think he'd been planning on assaulting my rear with them, but after seeing what happened to the StuGs they sort of hung back and watched the objective for a while.


Turn 4 was where the real action was. It started in the woods on Walt's right flank, as the halftracks scraped paint against burning StuGs to get at my men and give the ol' Mounted Assault rules a try.


Suffice to say, they work better against pinned targets (I was really enjoying being Fearless in this game, I passed every moral check and he couldn't keep me pinned down.) Half his initial assault bogged down, either on the way in or after failing a moral check to counter attack.


I was sliding teams into the fight every chance I could get, even running up Lt. Speers for a little action.


It was a massacre, with fleeing Germans shot down in the woods and only halftrack crews surviving long enough to surrender.

In the center his now unsupported infantry gave it another try, but the results were largely the same.


I didn't take a picture of them, but only a few German teams managed to get out of this fight.


And all that was in his 4th Turn. At the start of mine, I rolled and got all my reserves at one go, like the US Army finally got into the war (and no, the bombers are just for the picture).


At this point all he had left was his artillery, the Pumas, and a few halftracks pretending to be a platoon, and we called it a night.

Wednesday, March 3, 2010

Airborne Assault

My buddy, DJ Dildonic, has taken an interest in Flames of War, and we've been playing a few little games, but it was finally time to roll it all out and play big. So we went all out on the table lay out, and he pushed around my Panzergrenadiers while I got some advanced training in parachute assaults. We played using whatever they call the Airborne assault mission in D-1, "Seize and Hold," or something like that.

Oh and hay, I usually don't say this any more but I kinda like some of these pics, so "right click, view image" to see it full-size.

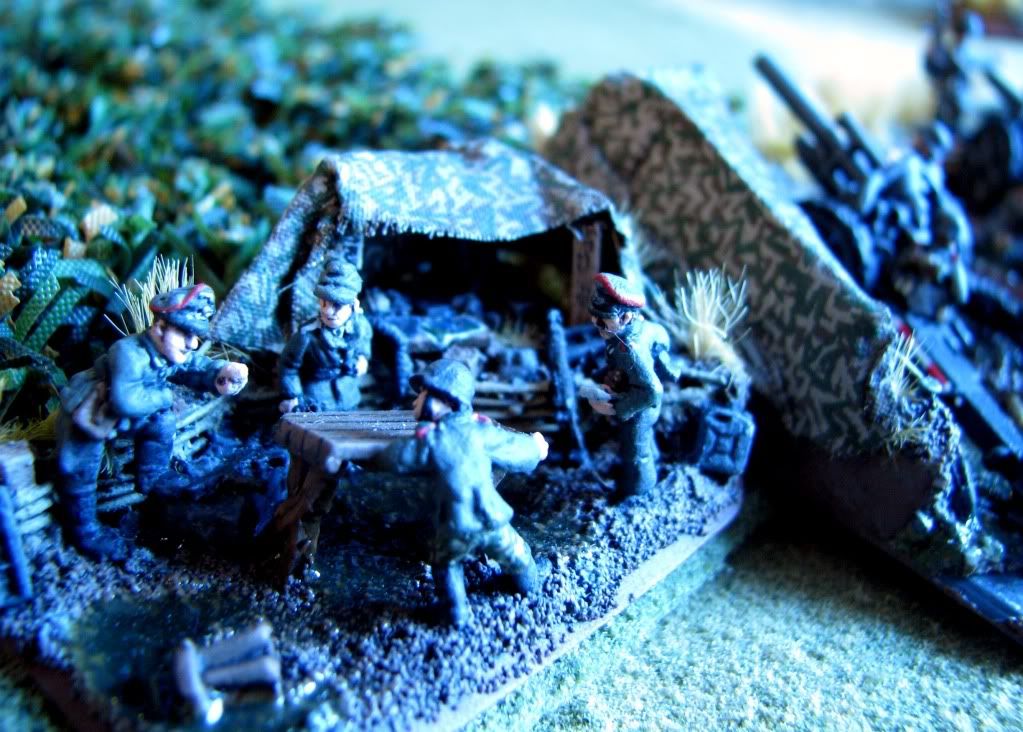
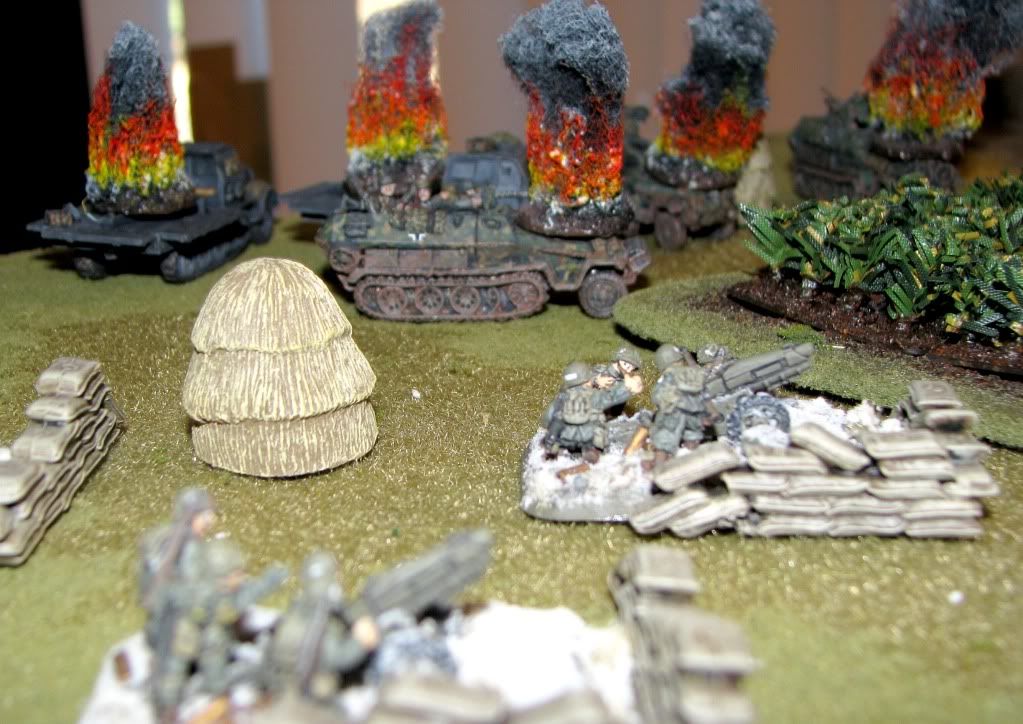
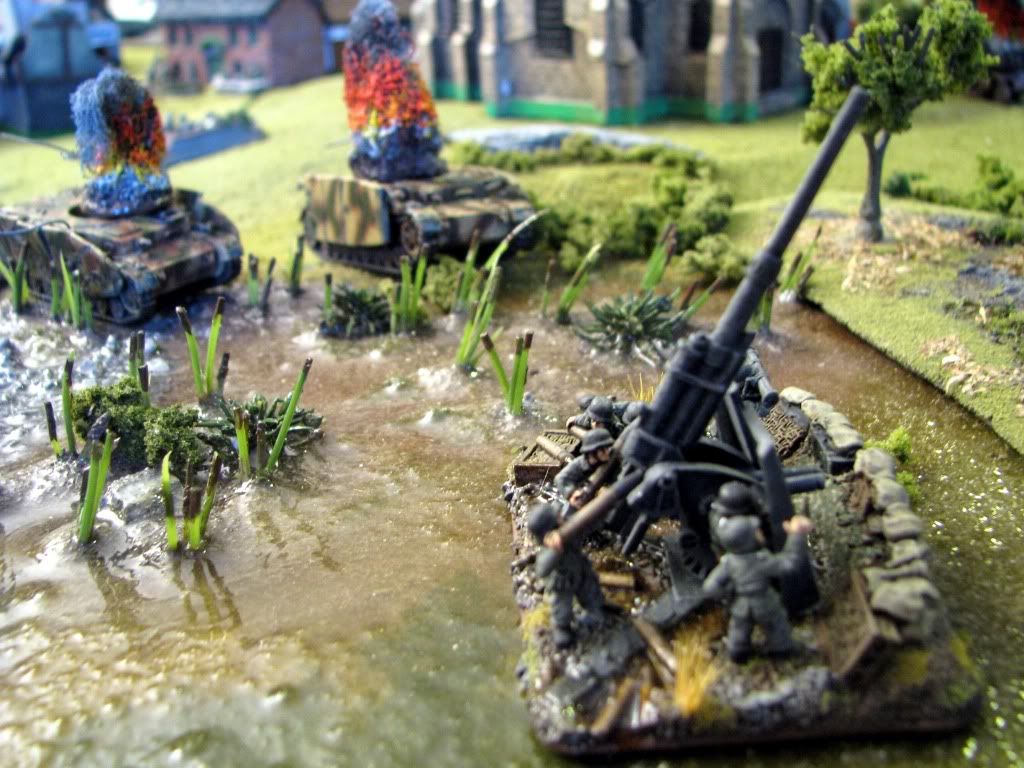
For extra flavor, the objective models we used were in fact the guns from an 88mm AA battery, pointed skyward. They were not to fire in the game, but, "Secure the town and silence the guns," sounded to us like a very Paratrooper thing to do.

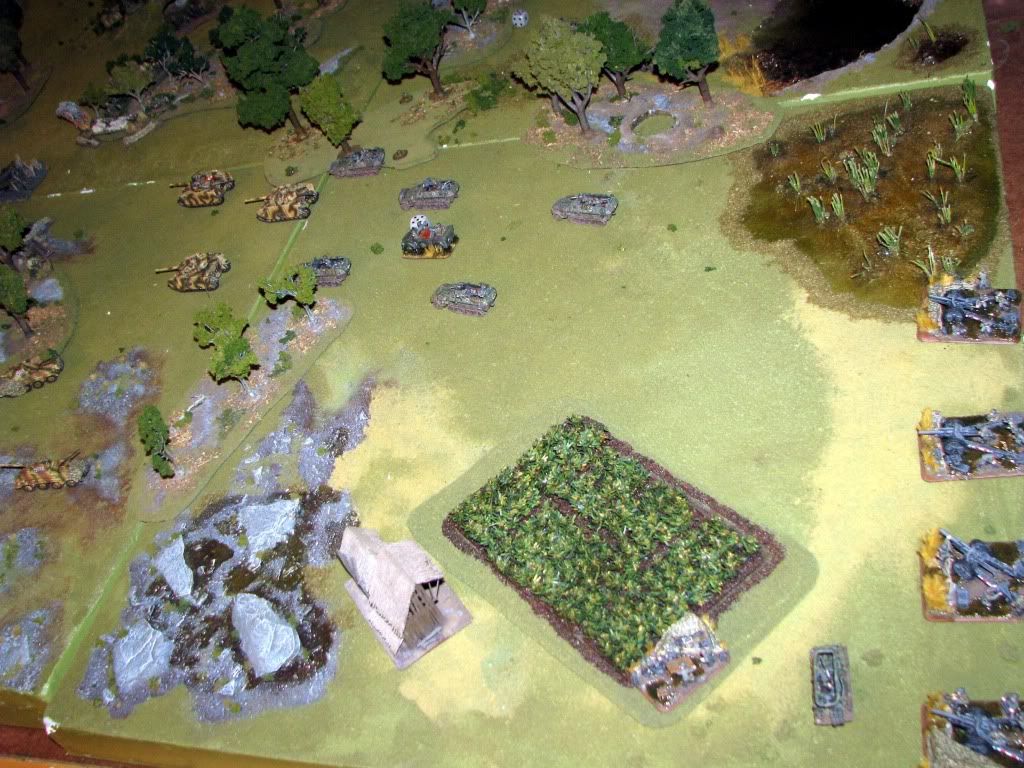
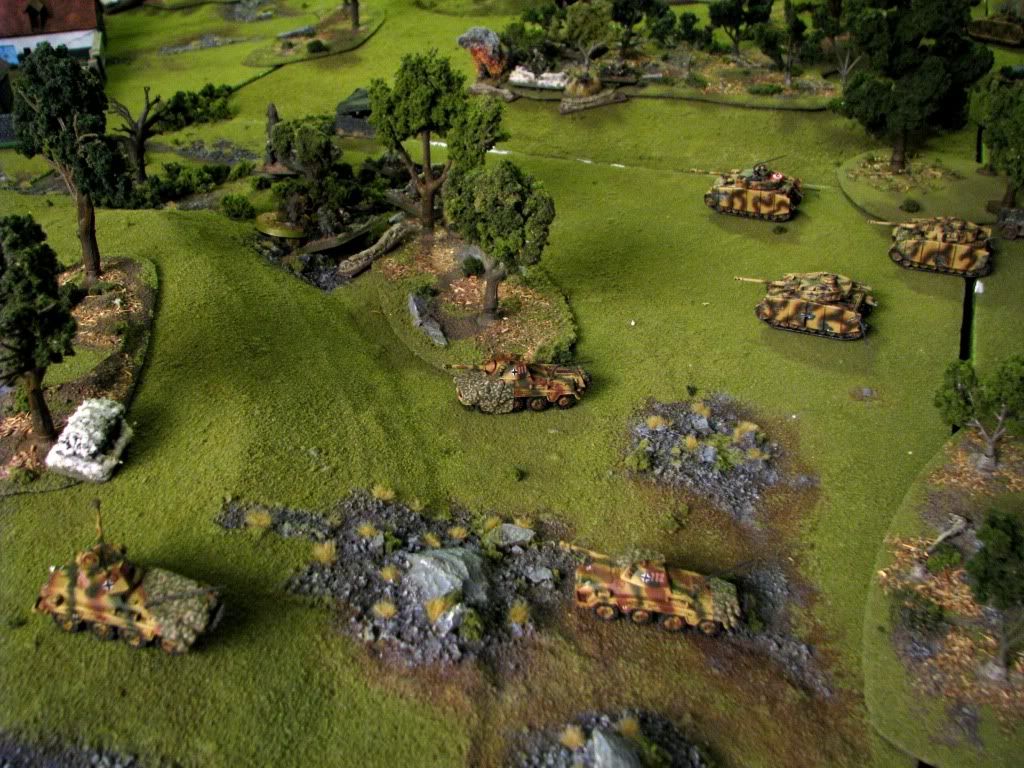
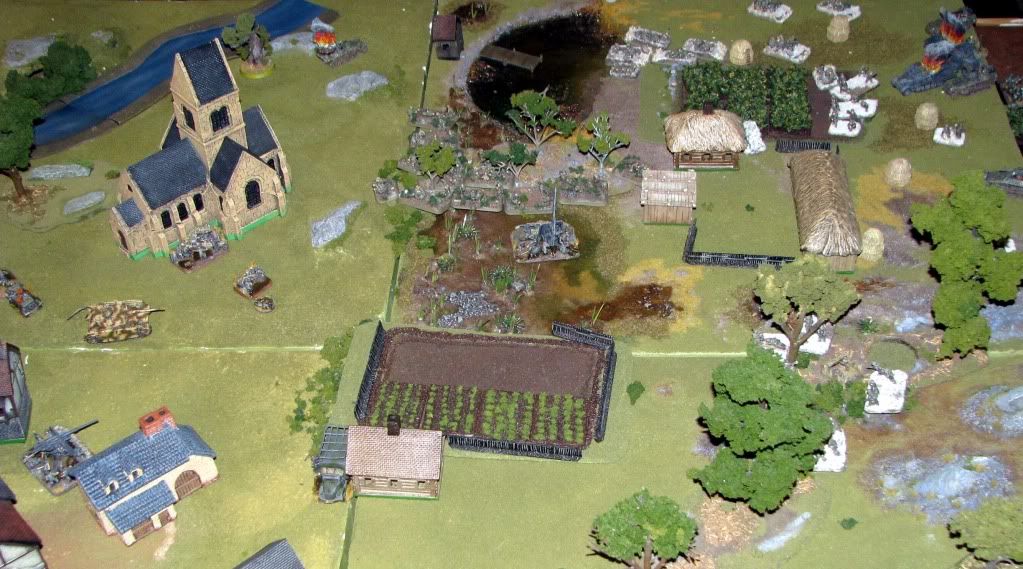
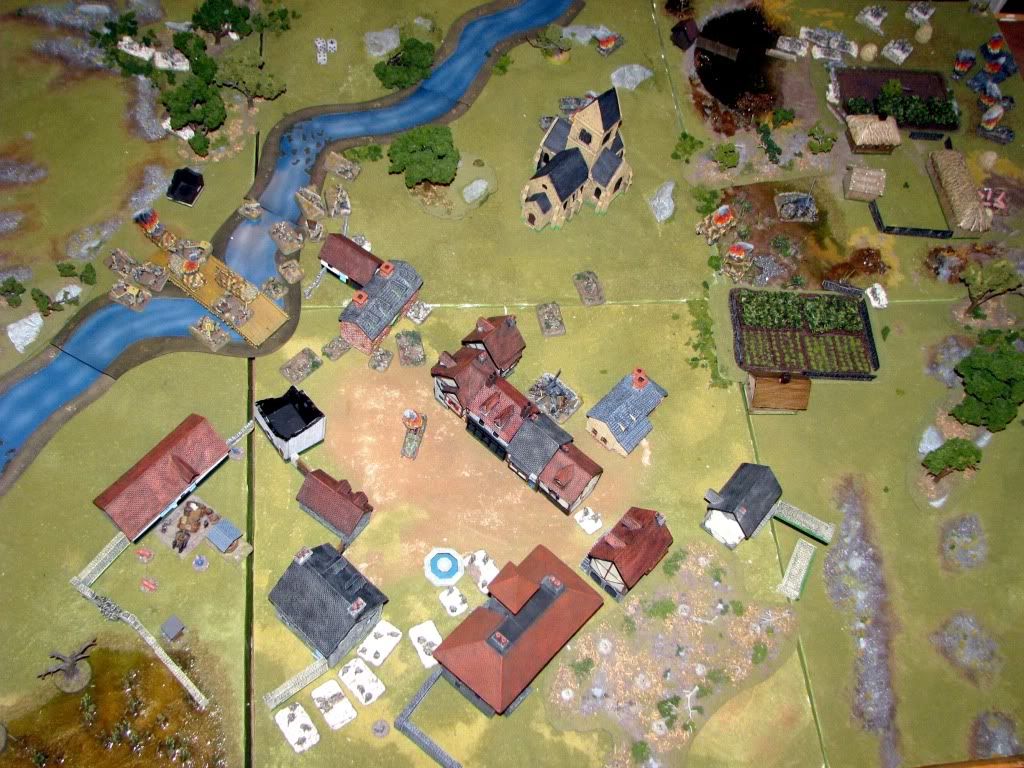
Ariel reconnaissance provided the following photographs before the battle:
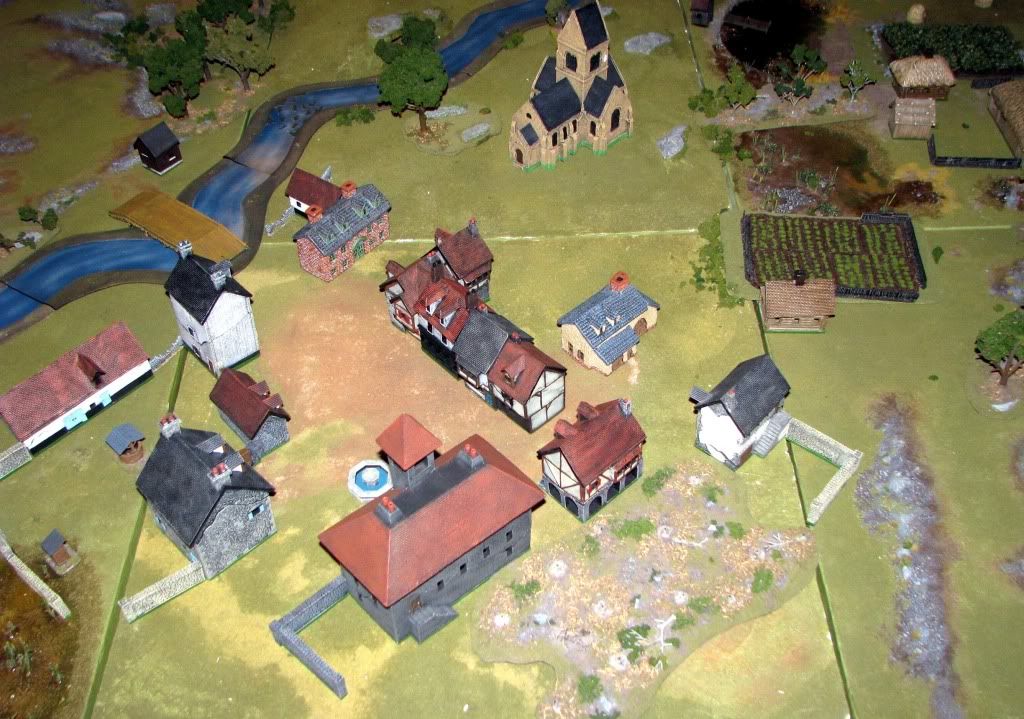
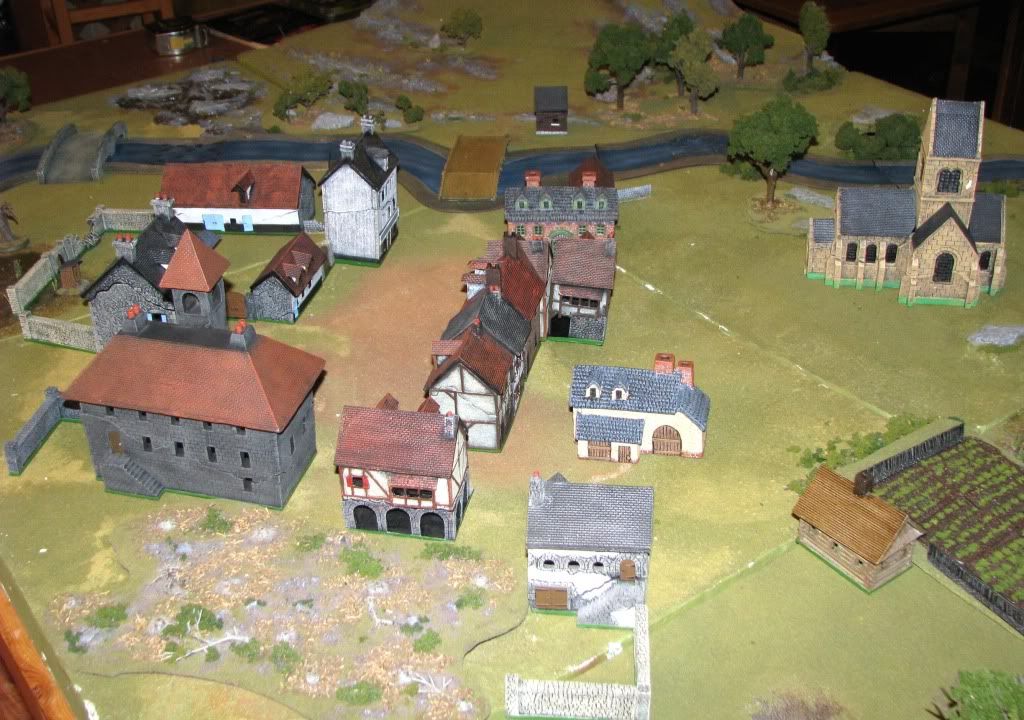


.


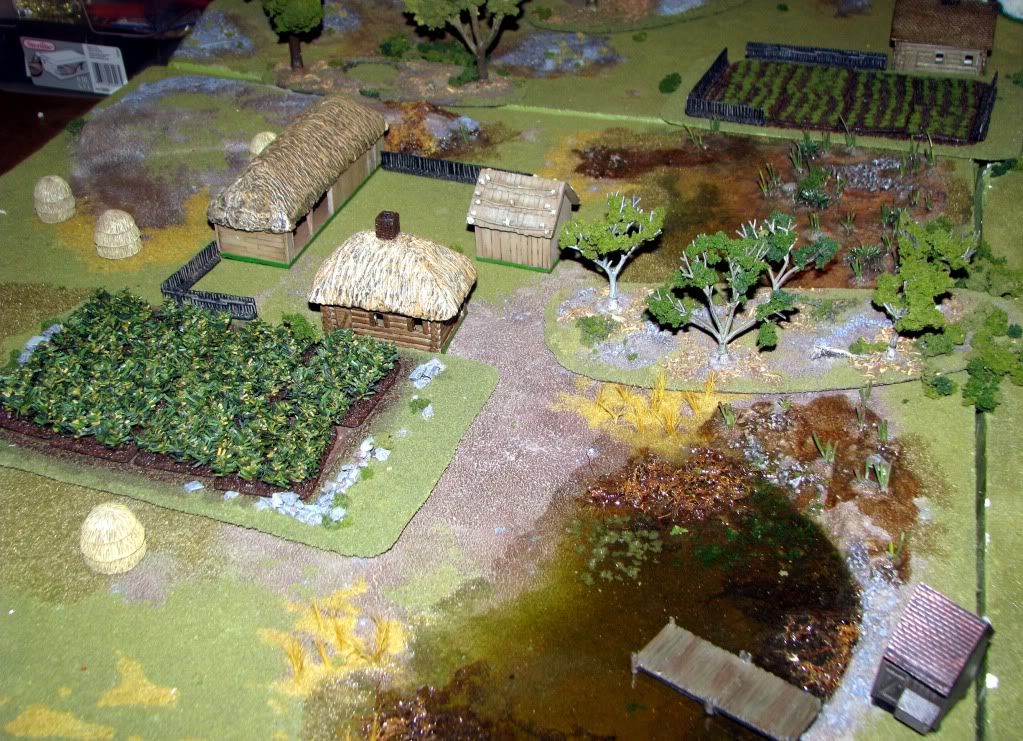
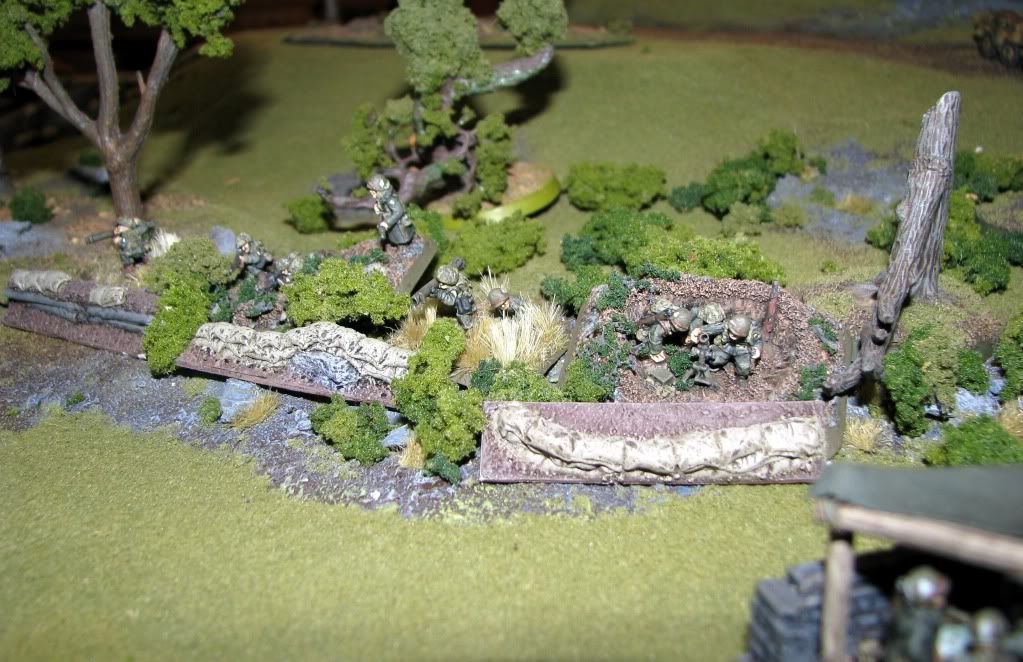
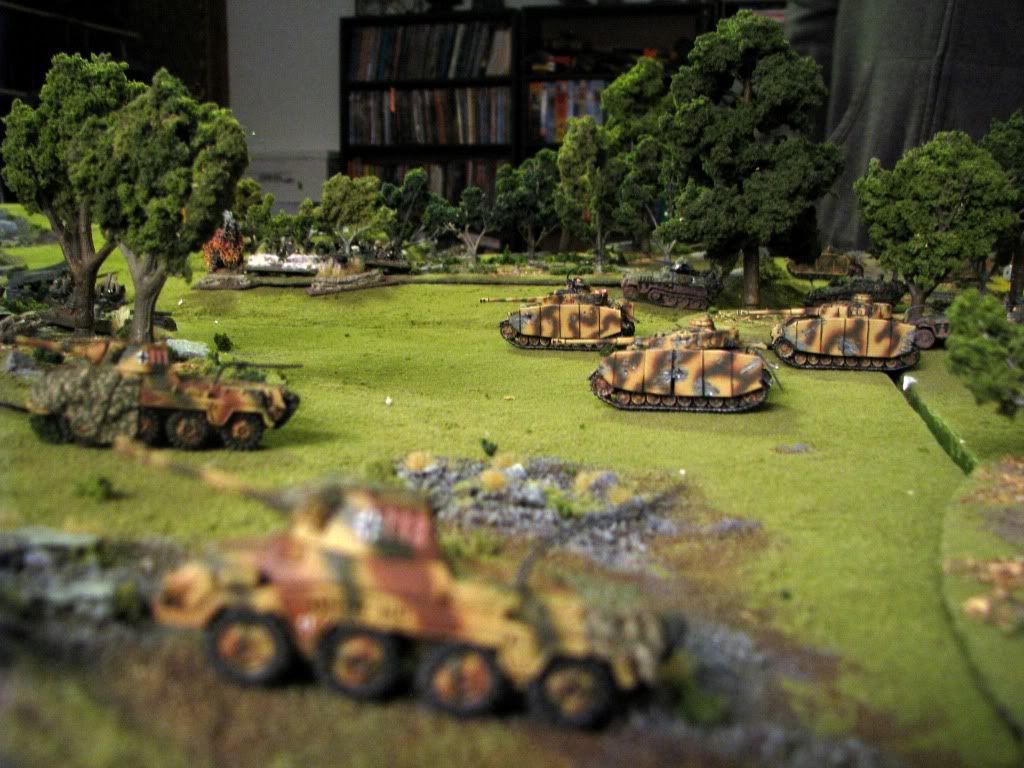
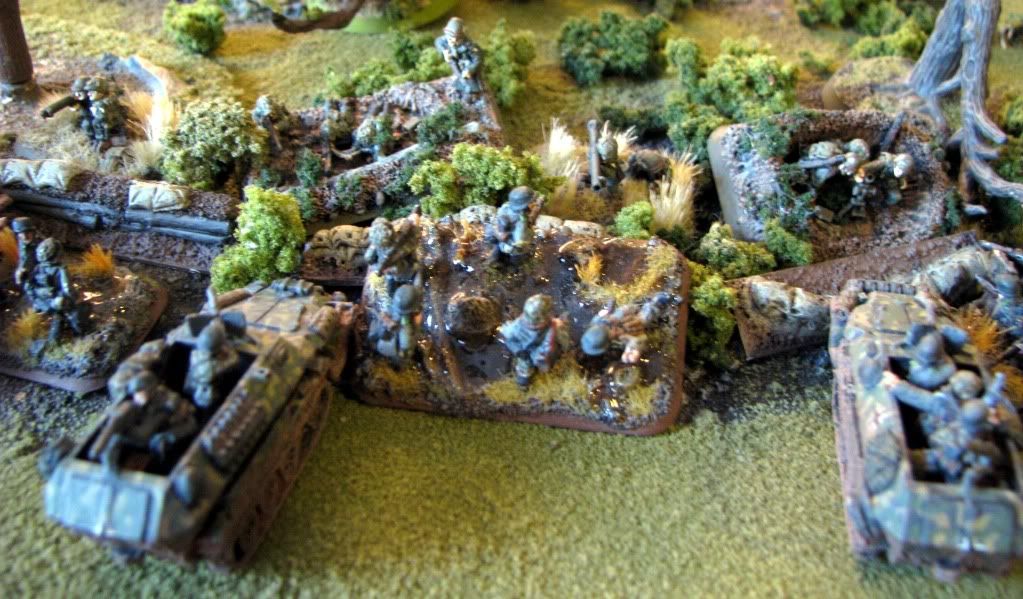
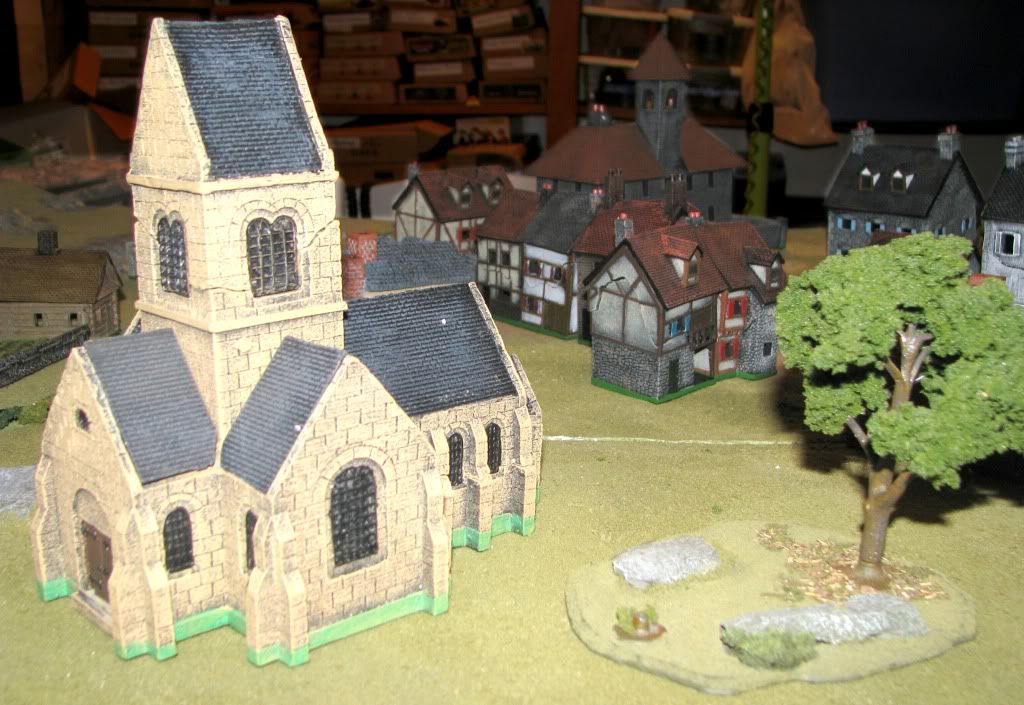
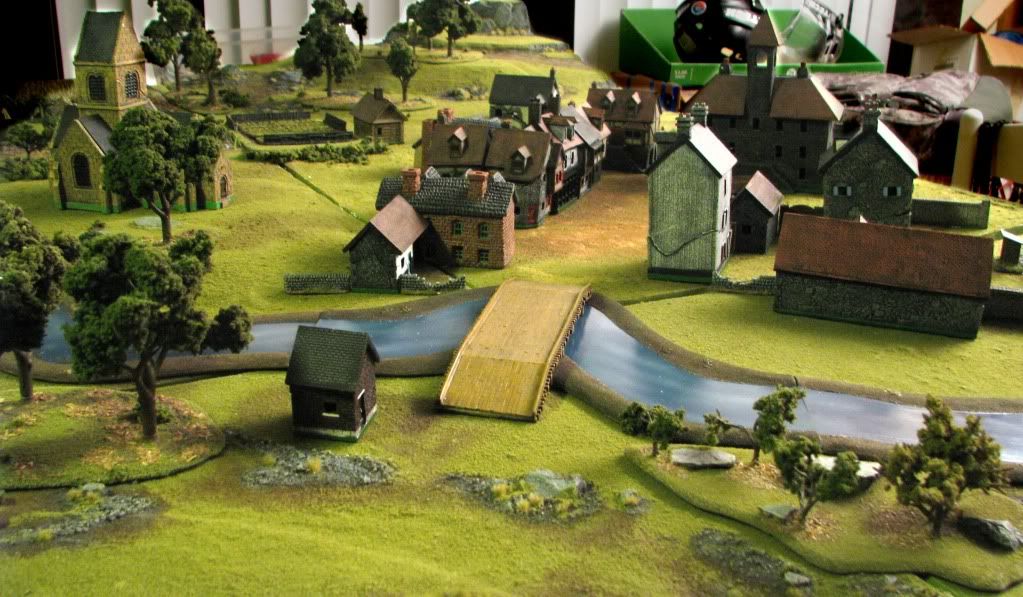
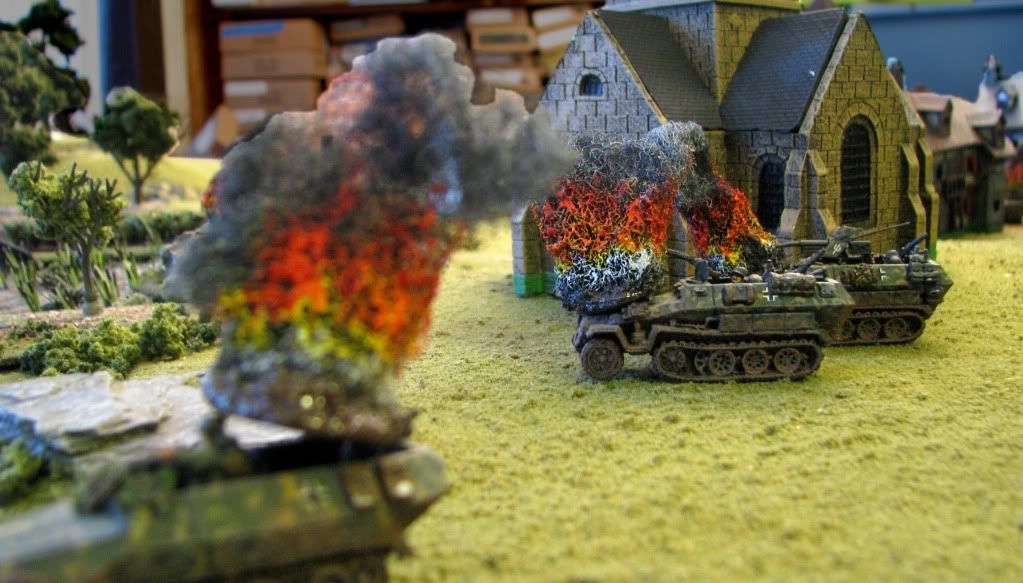
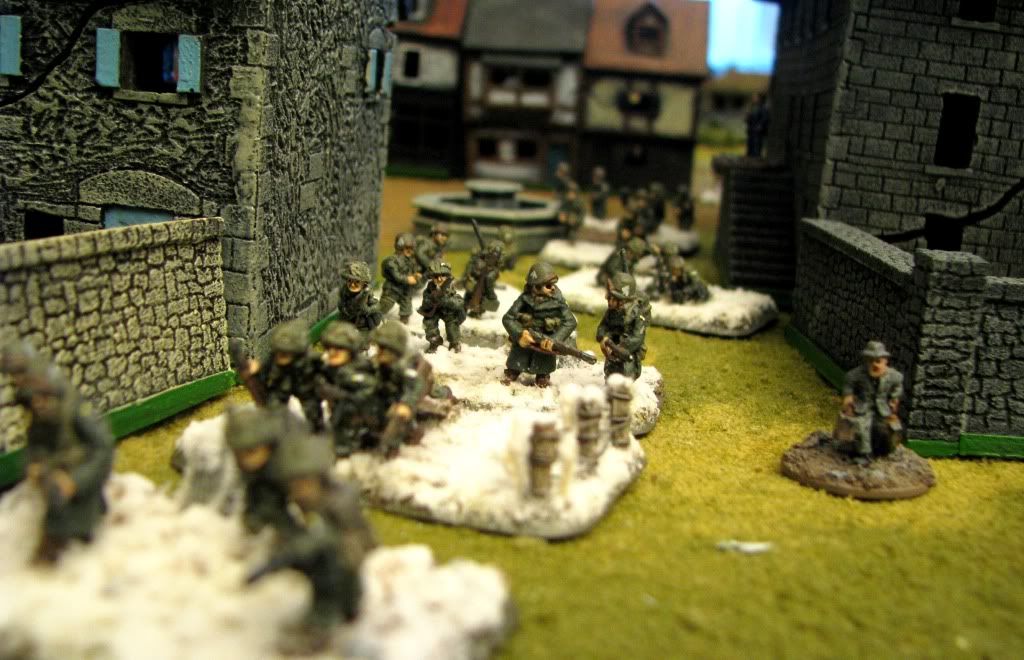
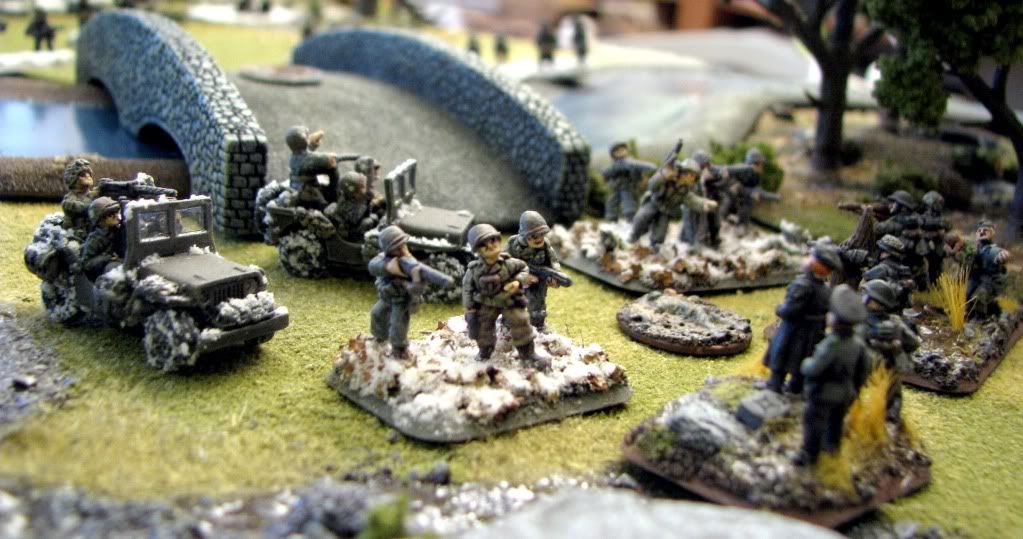
Local resistance fighters also supplied useful, ground-level views of the town (executed here with buildings from The Miniature Building Authority.)


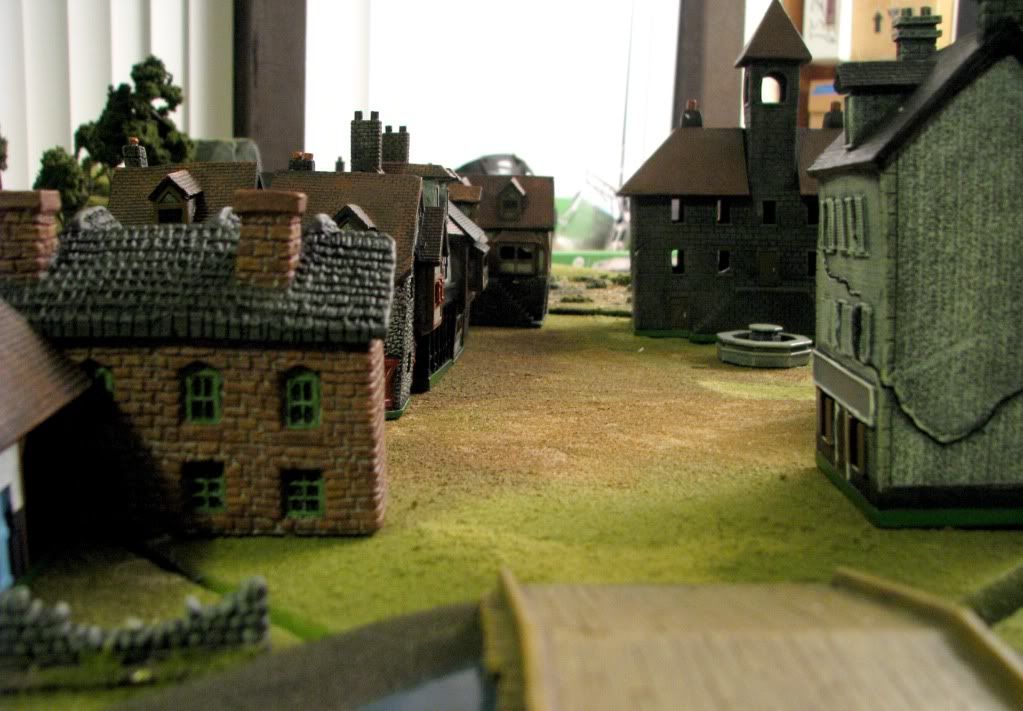
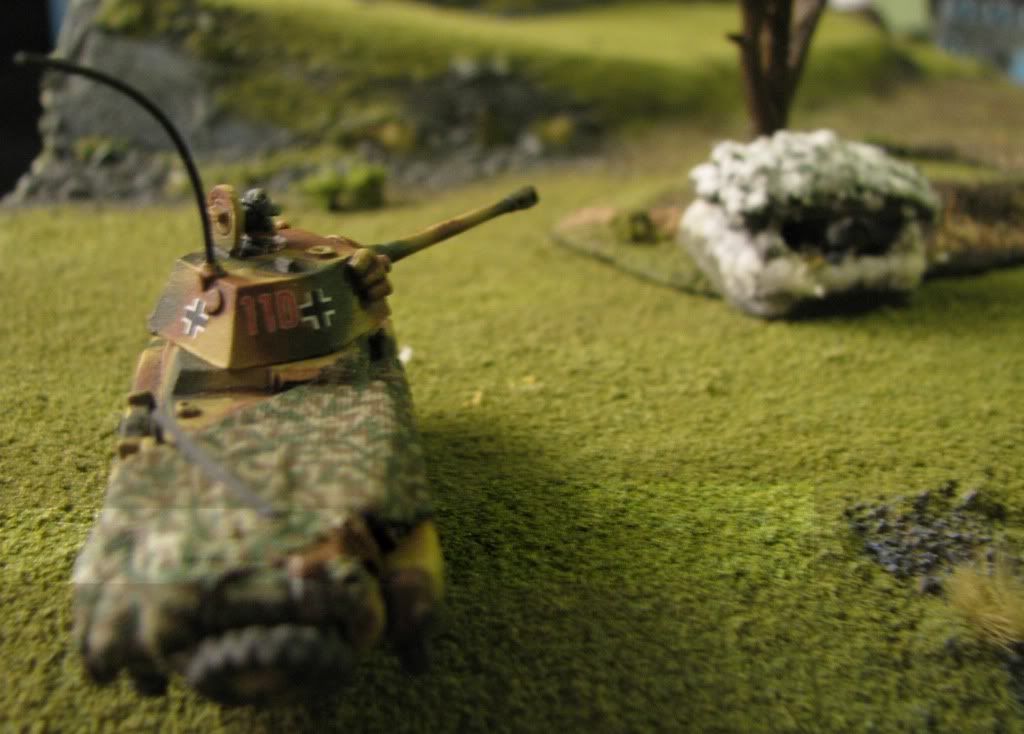
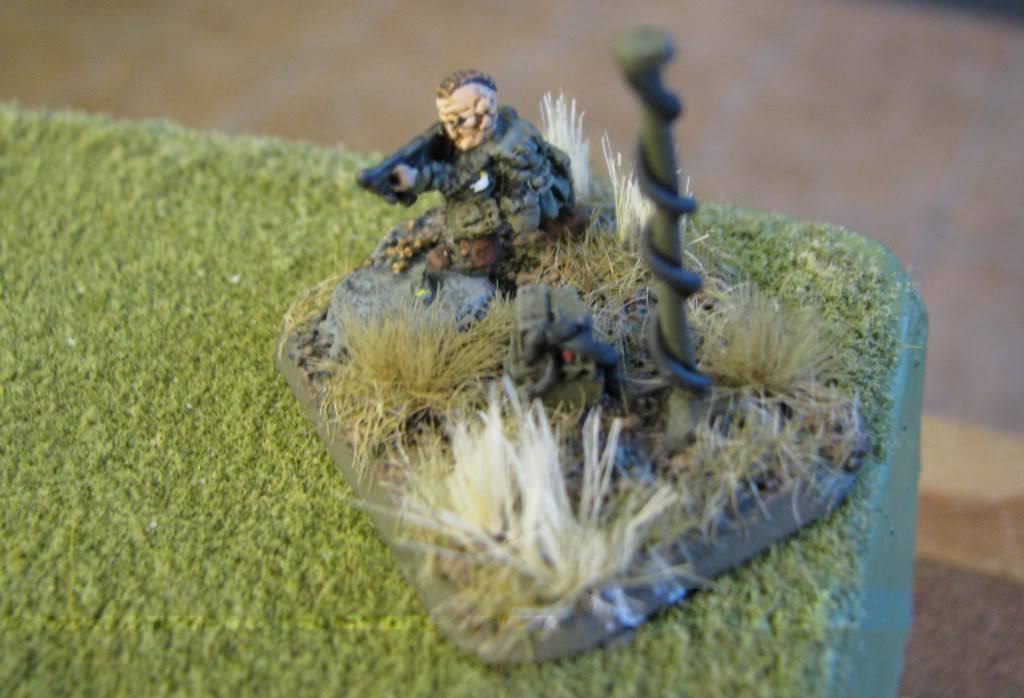
Just before the opening rounds were fired, my Pathfinder was inserted at the proper position, referred to by the troops as "Corner 4." This man knows his job, too, as 100% of my force, and about half the enemy reserves, entered play via this corner. It got crowded.


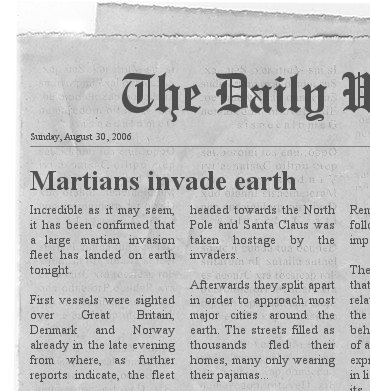
As planes flew over head and angels fell from the sky, the Hun was quick to rally his troops and move them into position (they'd been fooled my counter-intelligence, and the removal of one objective.).


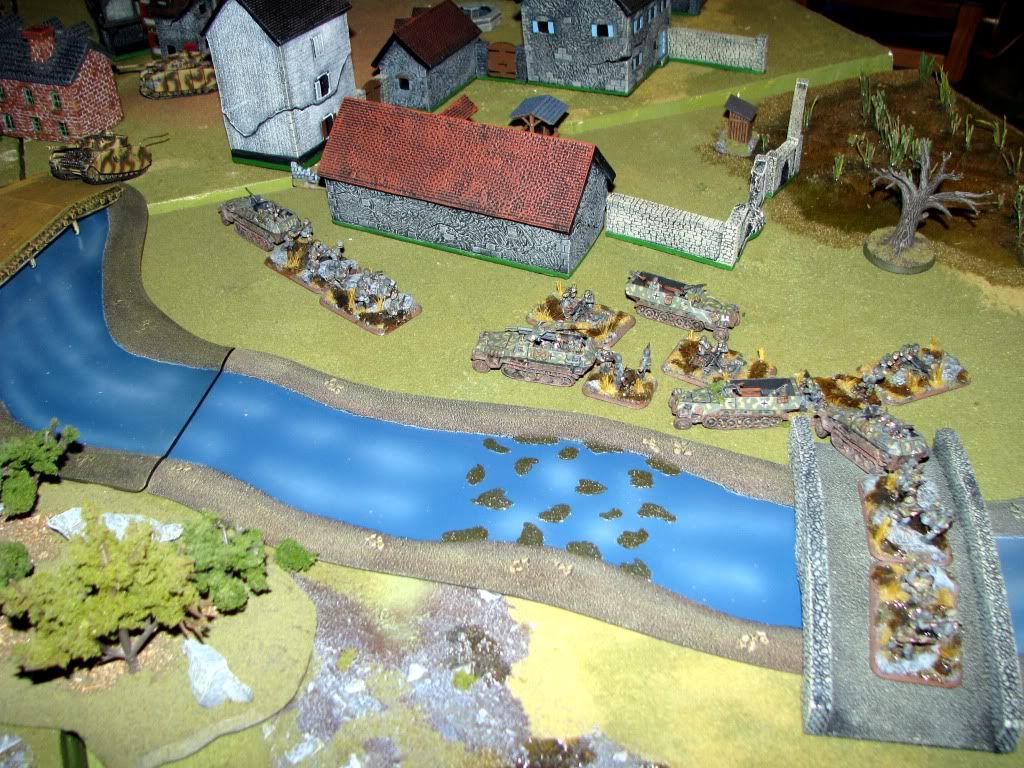
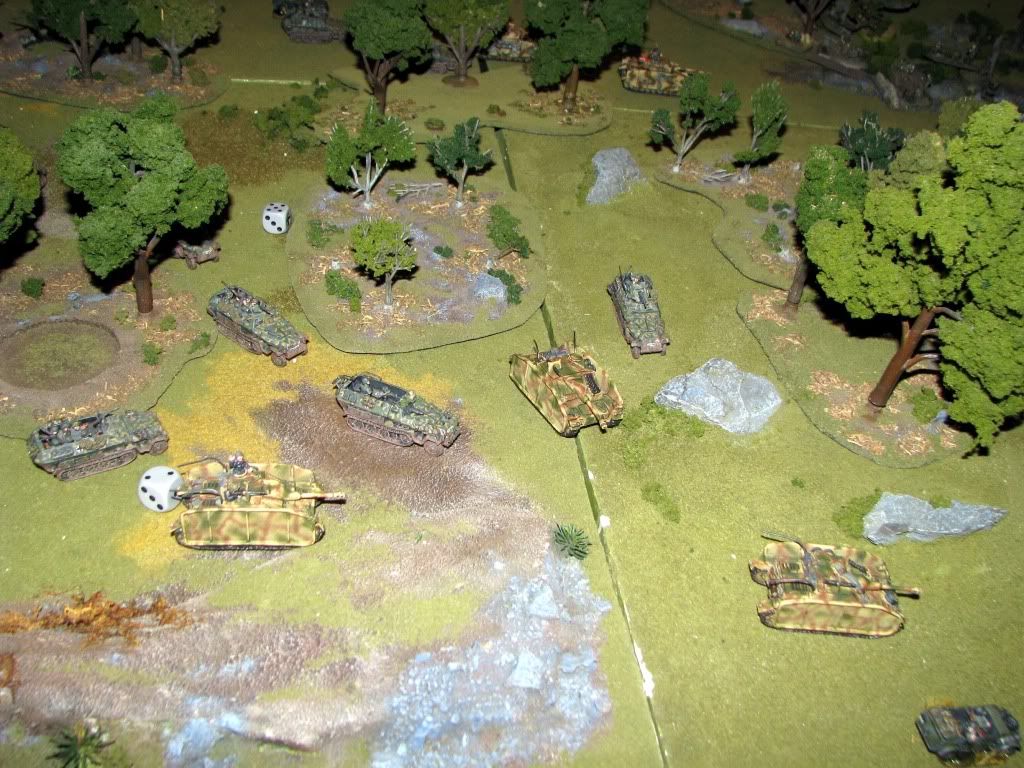
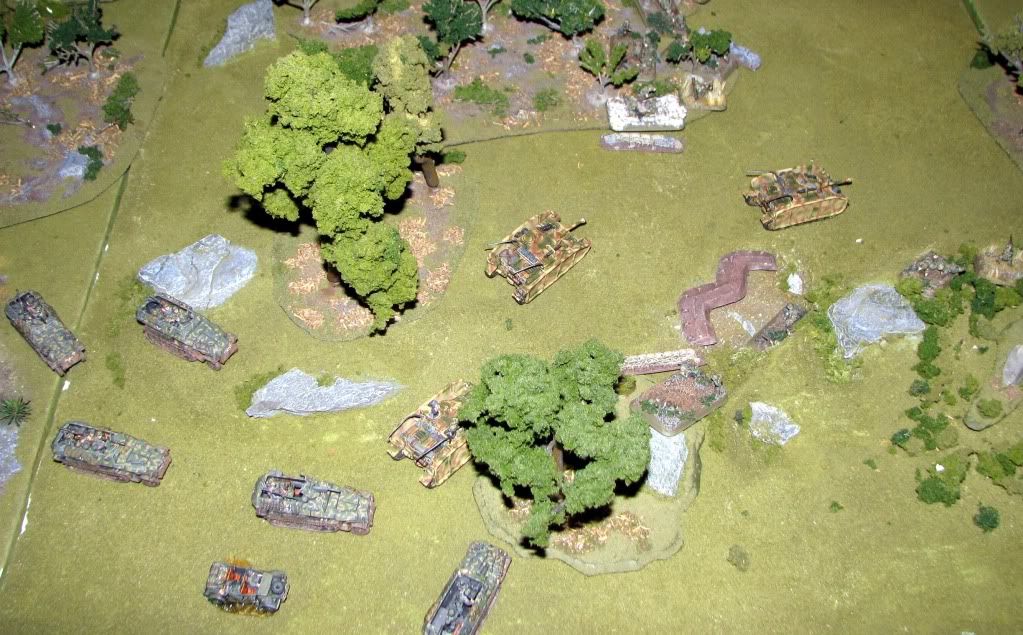
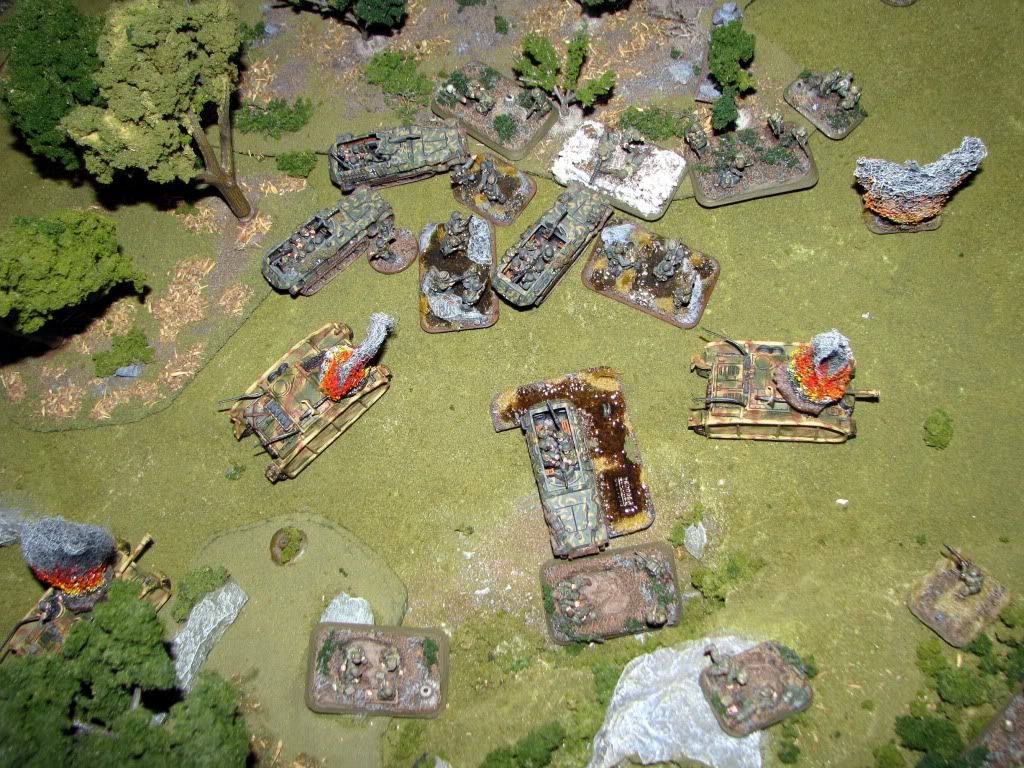
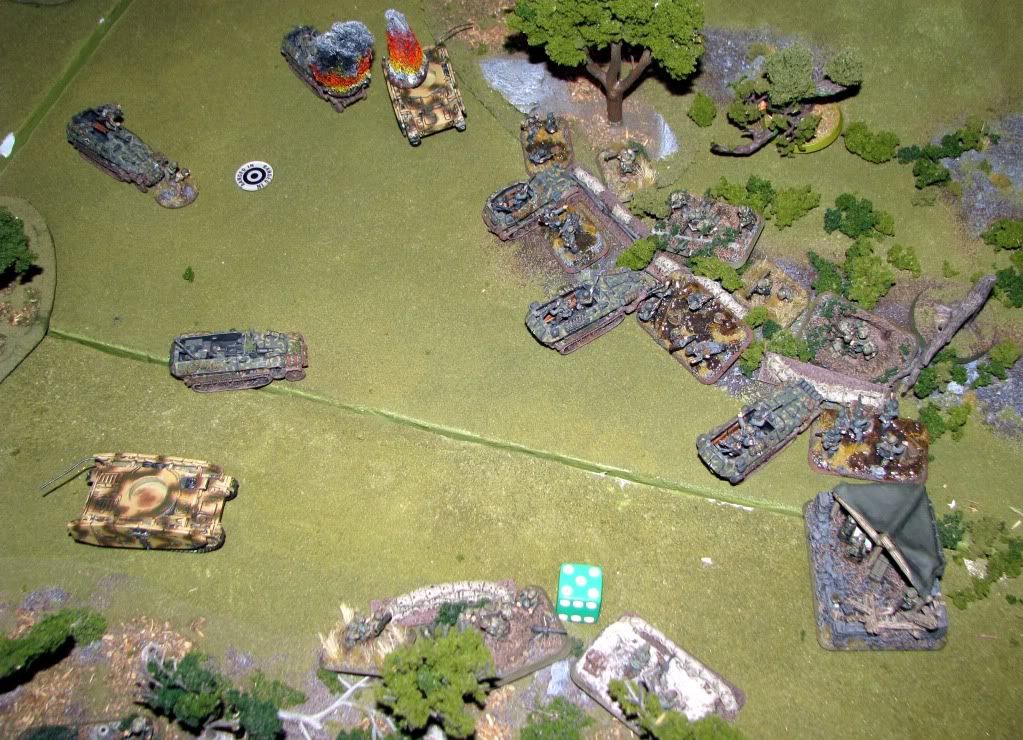
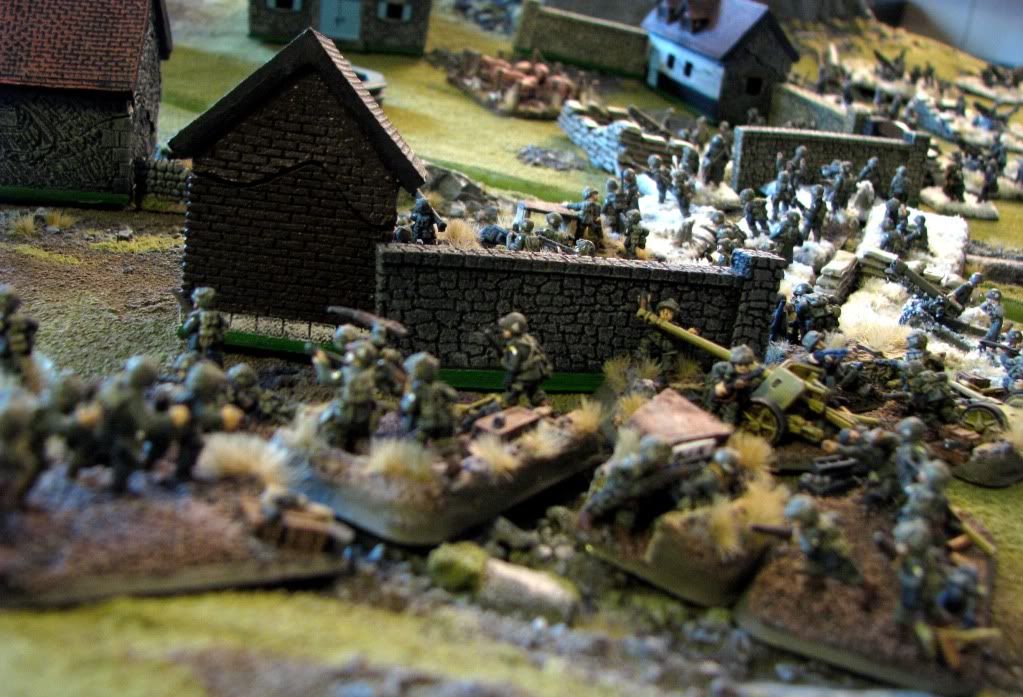
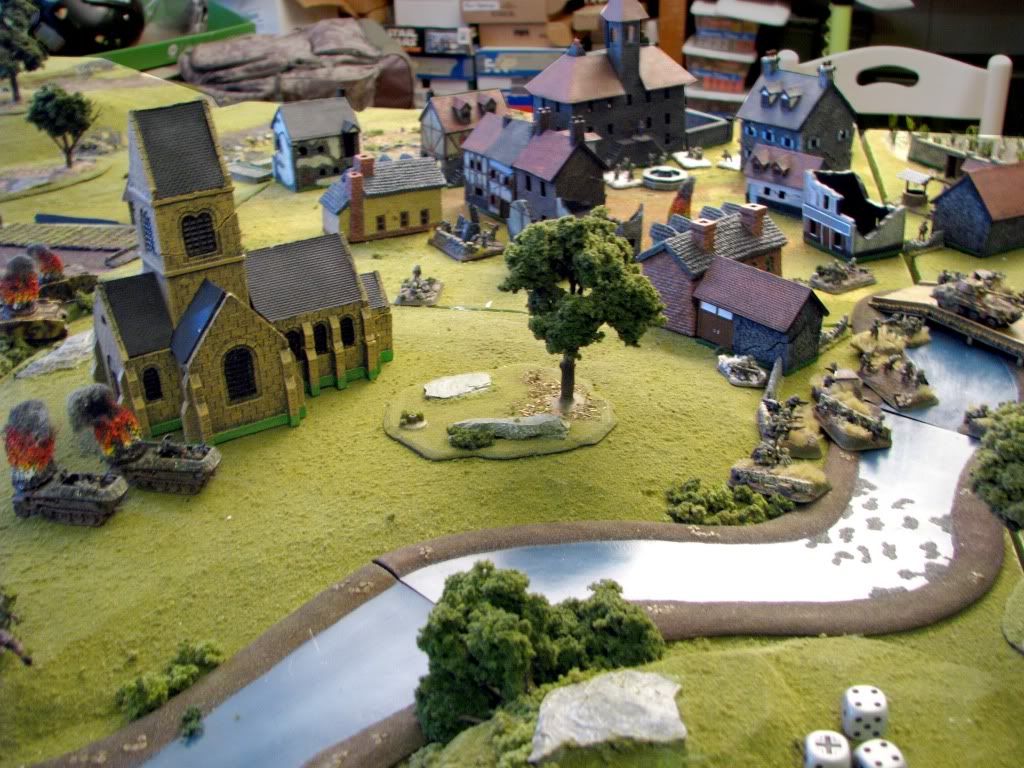
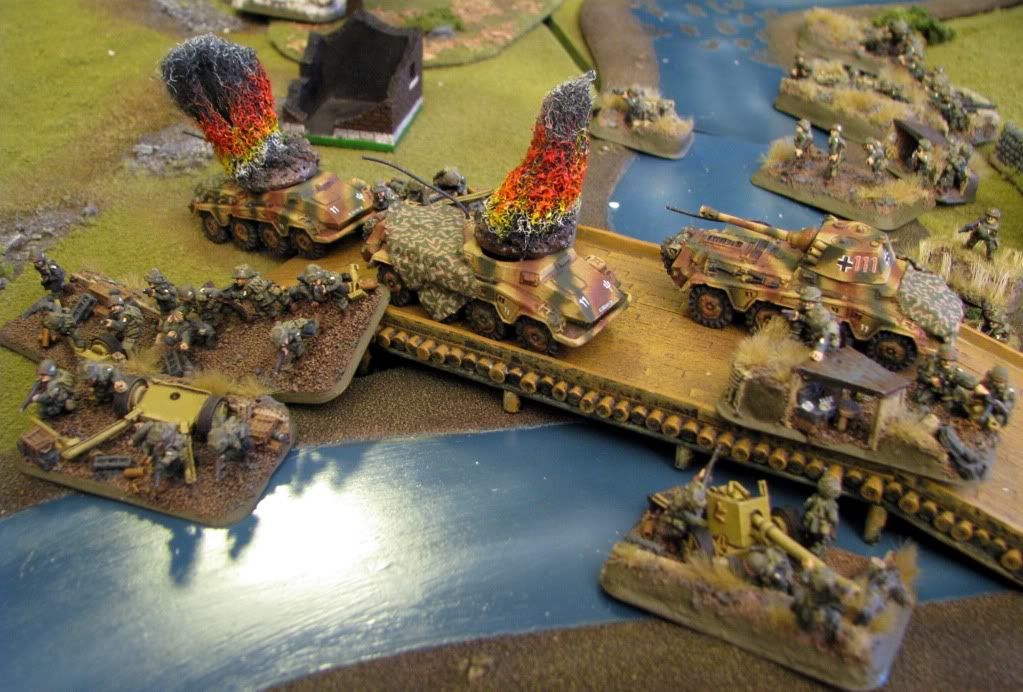
The first few turns went fast and furious, with all the action centered around Corner 4, with a battery of quad 2cm rolling in on Turn 1 and a Panzergrenadier platoon showing up in the same place on turn 3. This is what it all looked at by the end of my turn 4:


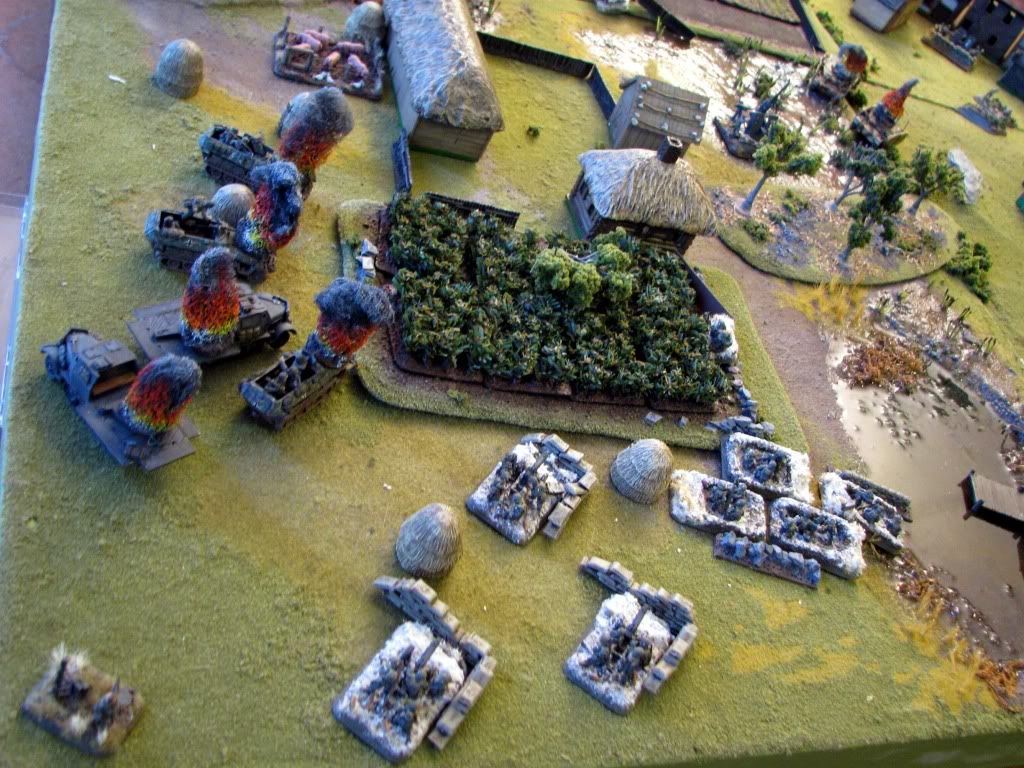
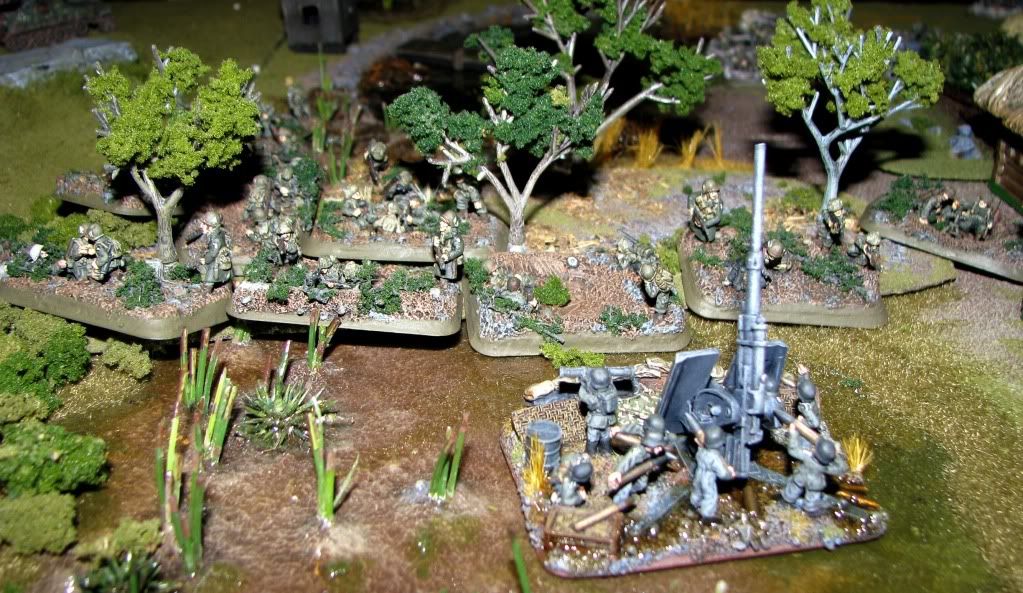
Leaving the guns to fend mostly for themselves, 2nd and 3rd platoons started moving into position, with 3rd making a flank move around the farm and 2nd moving past the bogs towards the objective.


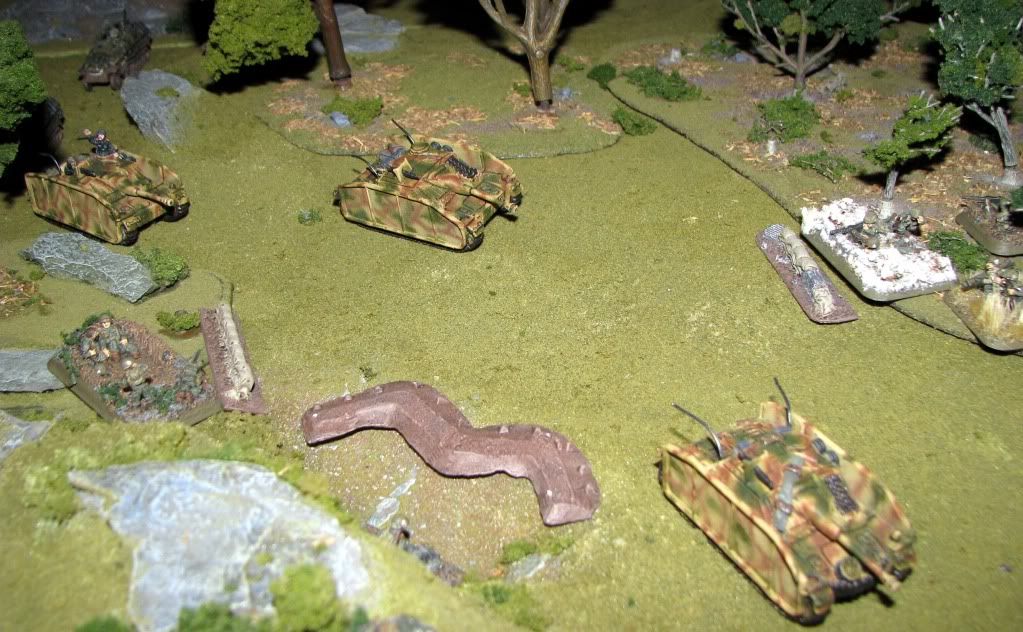
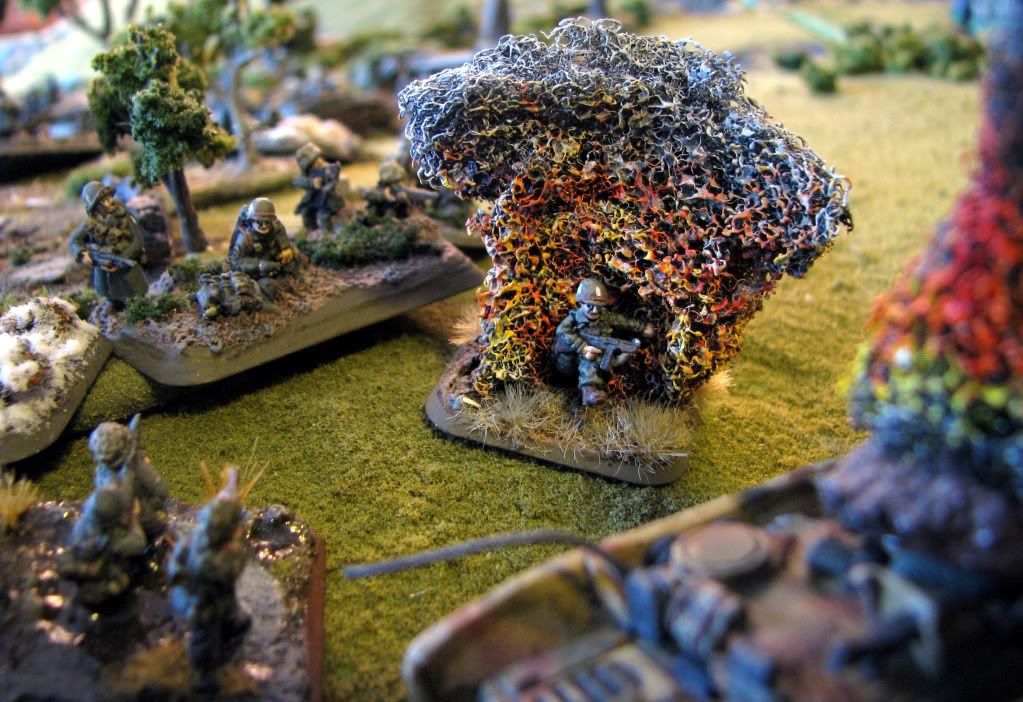
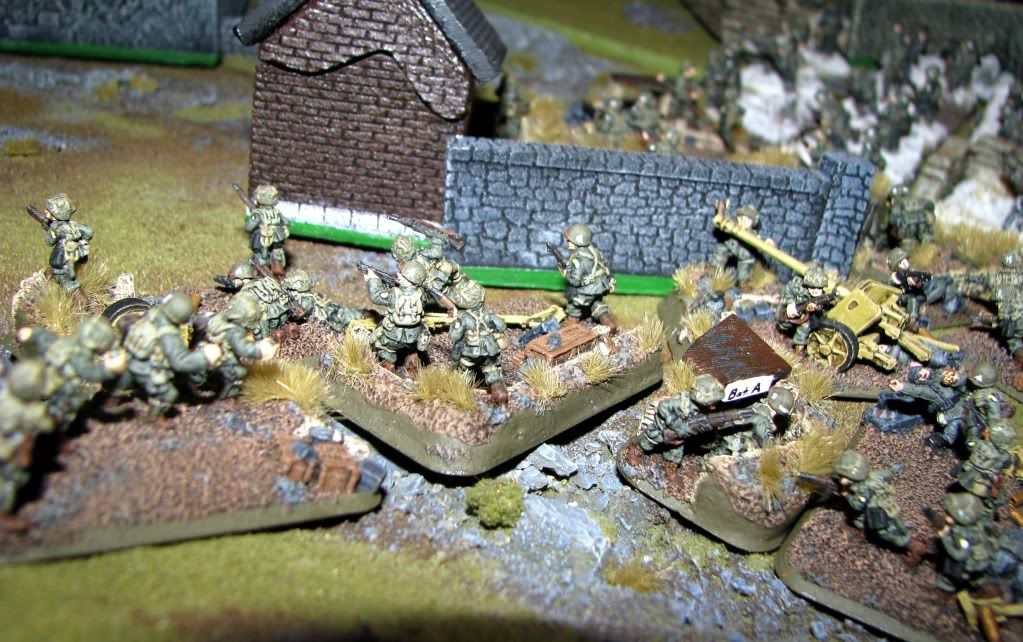
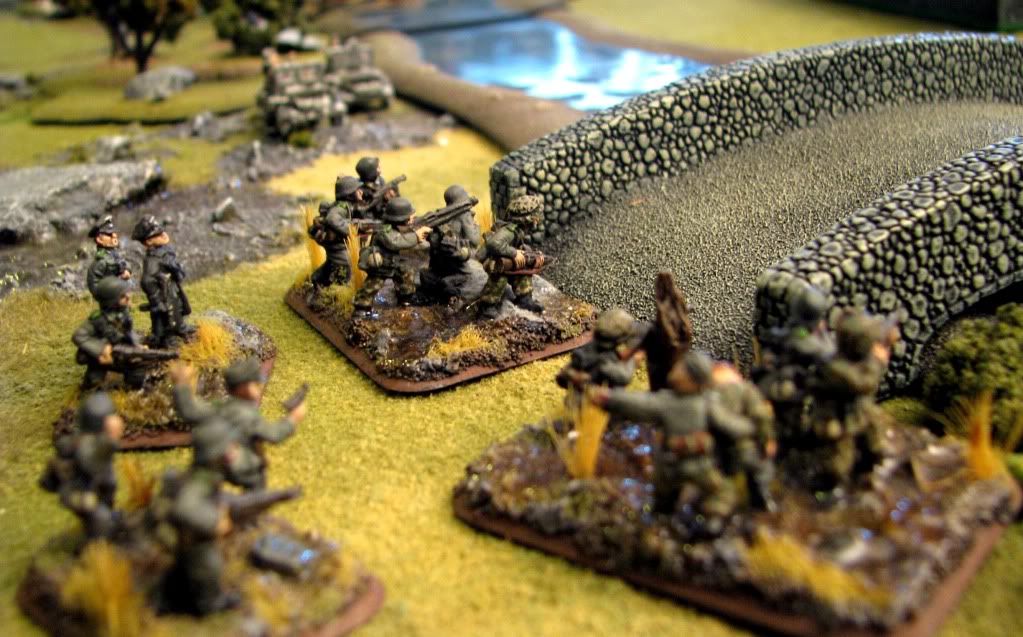
2nd Platoon encountered light resistance:


But were soon in position to threaten the nearer of the two guns:


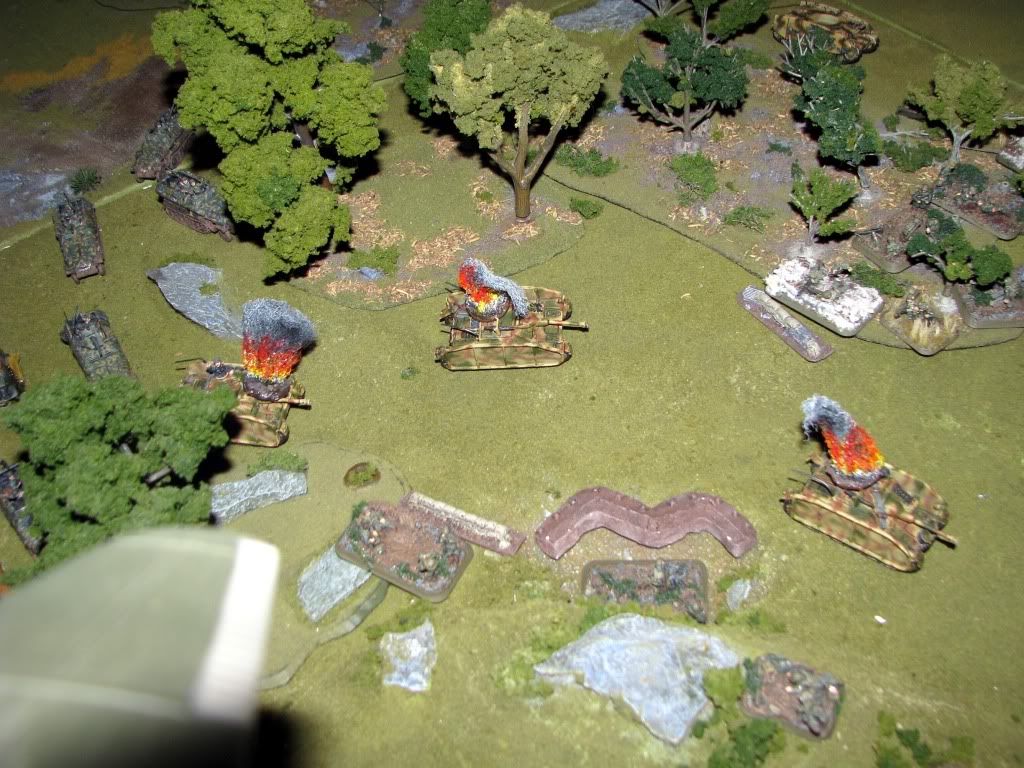
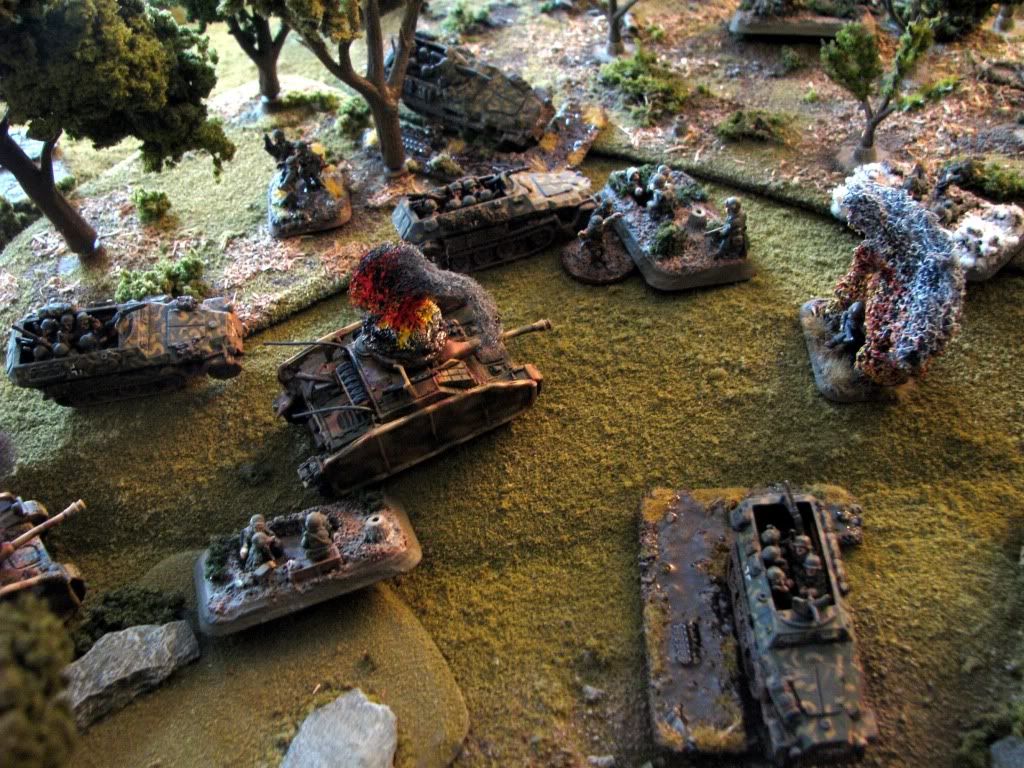
A few tanks threatened a counter attack, but were destroyed by combined artillery and close assault, forcing a failed moral check by the rest, who left the field. And with that, I had technically won the scenario.


But we didn't feel finished, we both still had a bunch of crap on the table, and hay, it was only 1:30 am, right? The solution was obvious: just keep playing, and fight over new objectives that made sense. There were a few loose teams that could have annoyed me on the way to the other 88mm, but they were clearly not going to stop me. So the Germans abandoned the town, and right then and there we started a second game: could Dildonic get out of the town? More importantly, could he blow the bridges before the Allies could get across? This was a very achievable goal, as I had the whole town and most of his force between my men and the river bridges.


And thus, the race was on. I made liberal use of Truscot Trot as my boys hauled ass around and through the town to get into position to stop Dildonic's demolitions attempt.


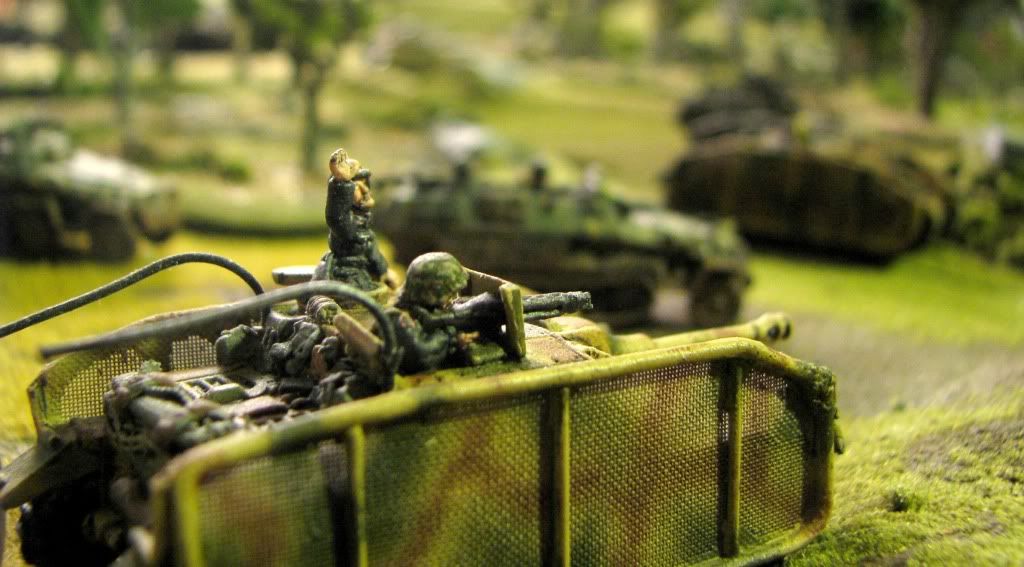
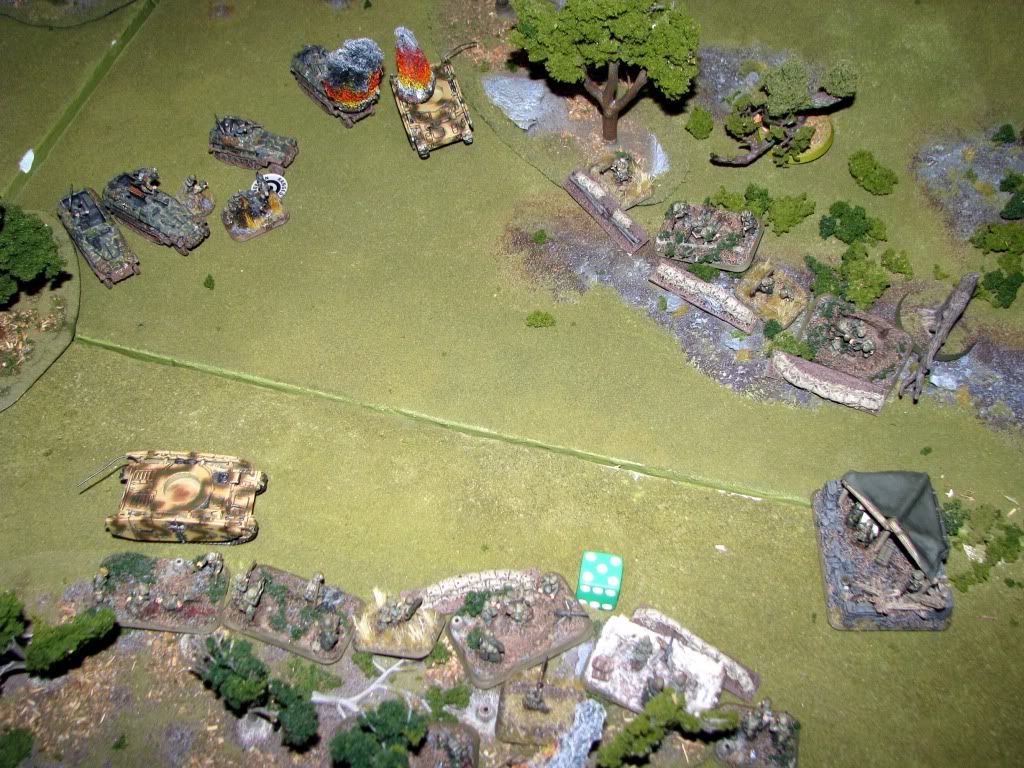
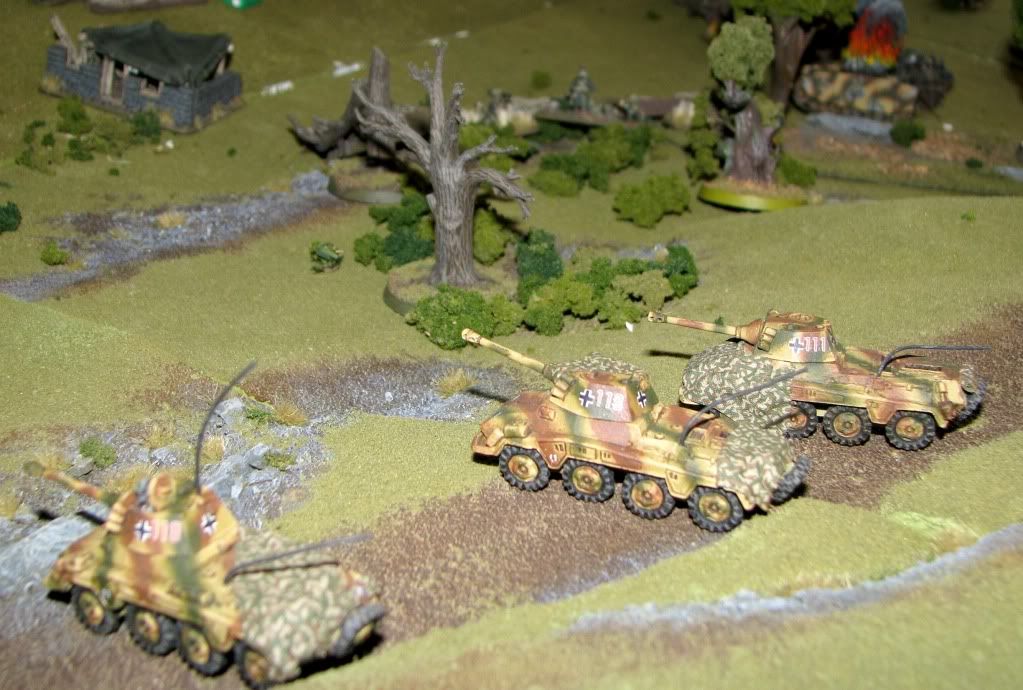
As 1st Platoon ran around the church they were intercepted by a platoon of Puma scout cars, of whom short work was made.


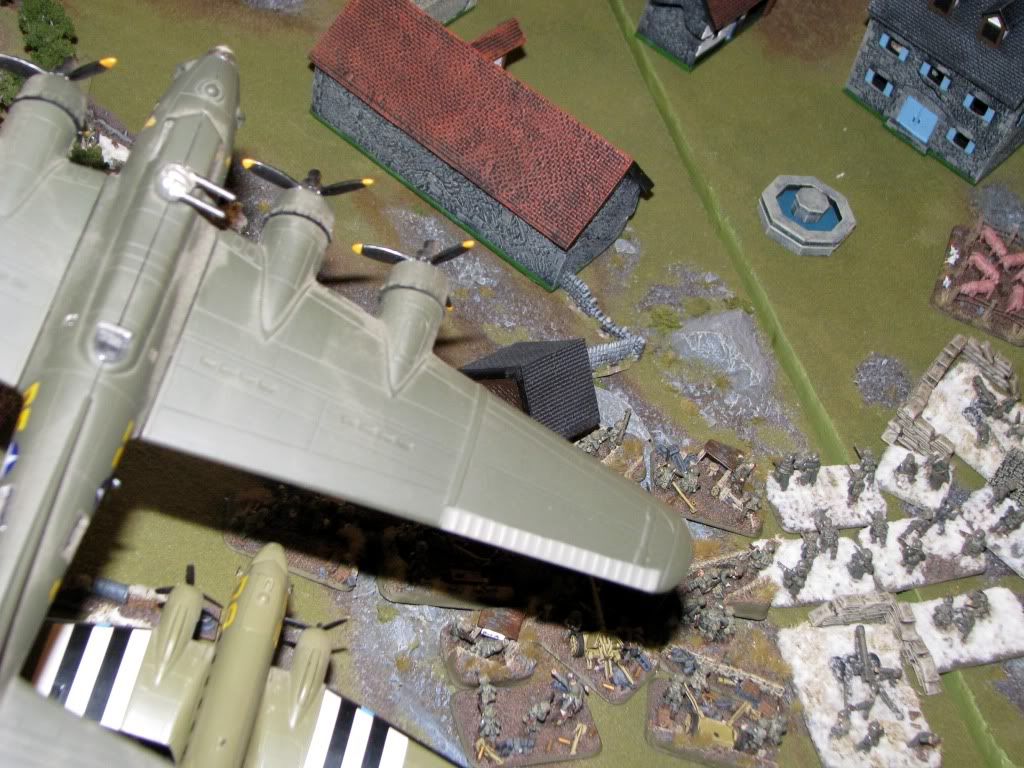
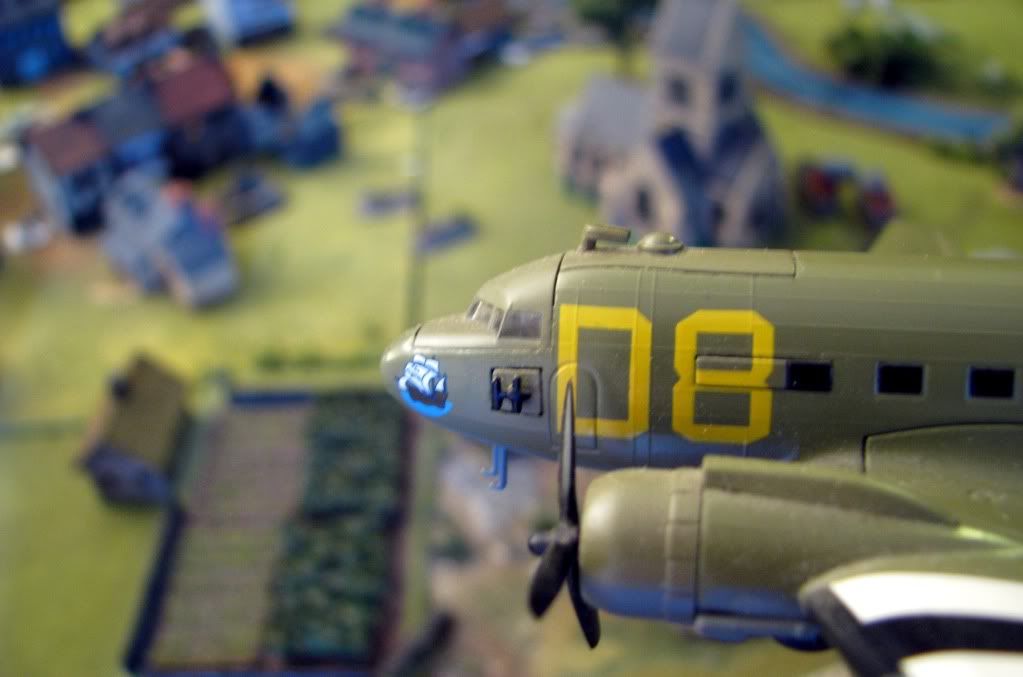
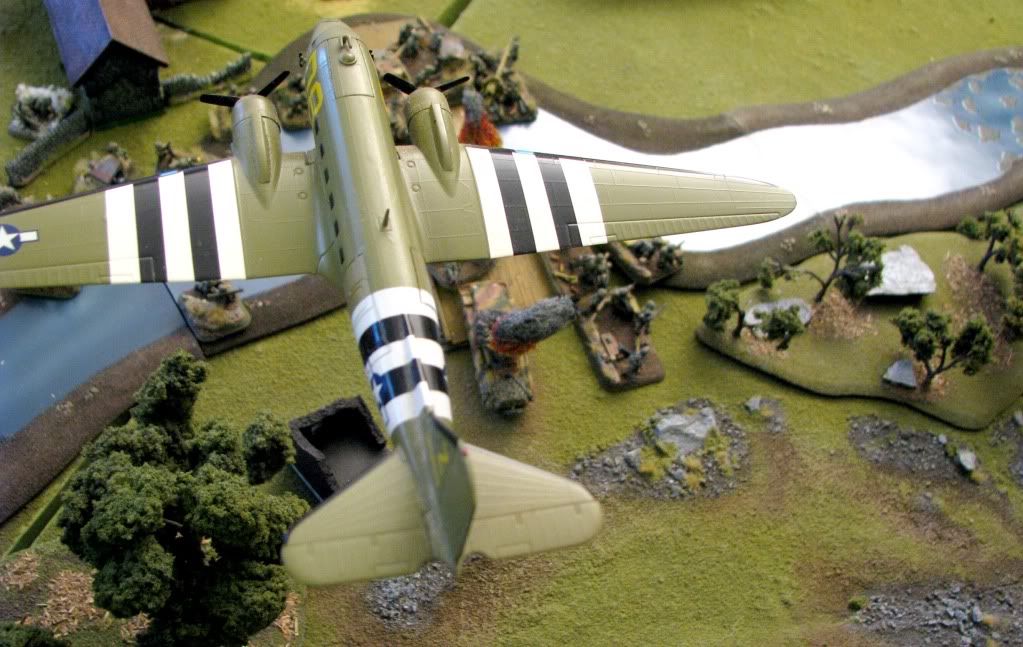
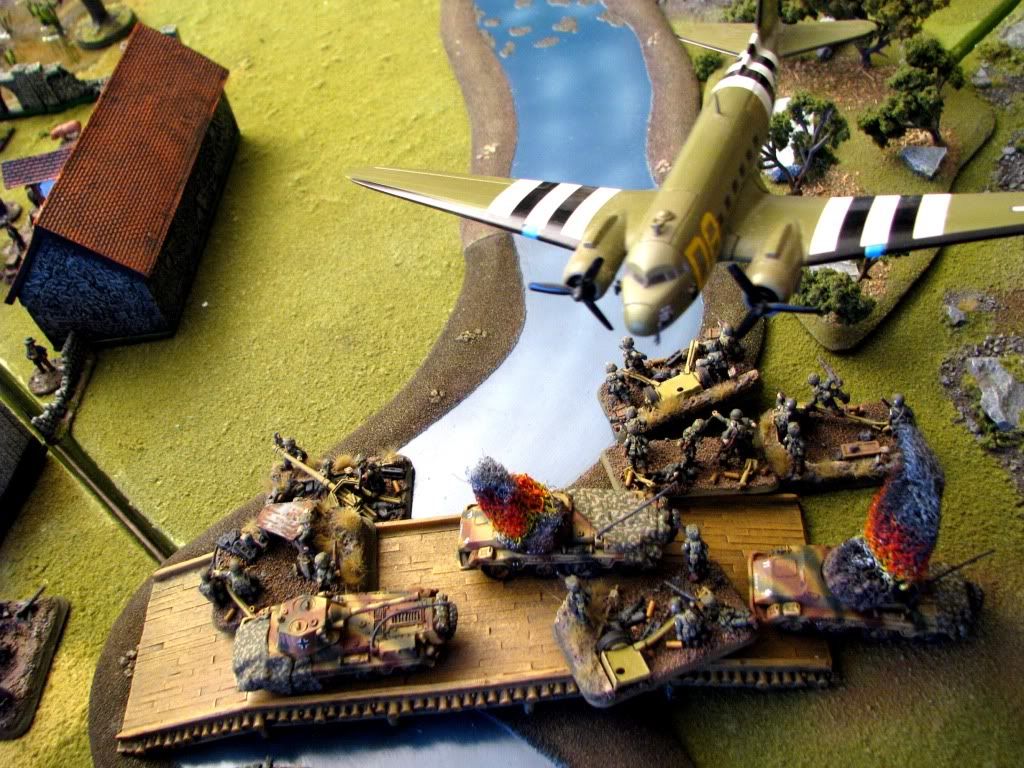
Aircraft (Skytrains subbing in for P-47s) made a constant, if irrelevant, showing in the fight.


In the end, it all came down to his attempts to blow the bridge -- the one bridge blown would, in our minds, win the game for him. After all, what goods a town if you can't advance an armored column through it? For this part of the game, we adapted the rules for blowing bridges from the Firestorm: Bagration campaign rules. Basically, you need a guy to pass a skill check at each corner of the bridge, then back up an make one more to blow the thing. One team failed the first check, leaving him hanging there for that one more turn I needed to sneak something up there.


The combat action ceased with my scout's acceptance of the German surrender on Turn 10.


And hay, it was only 5:30 am!