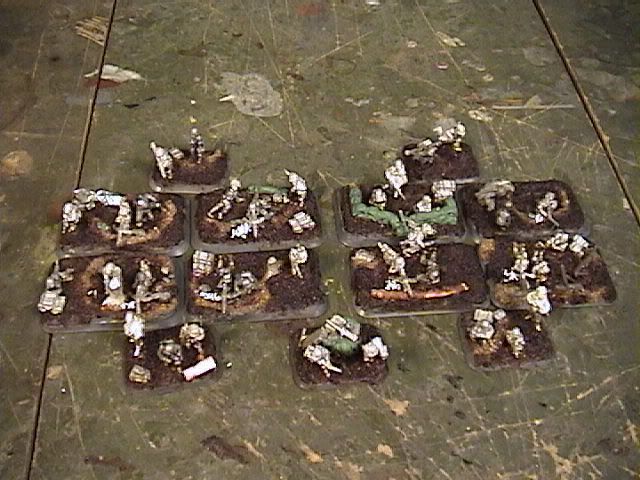
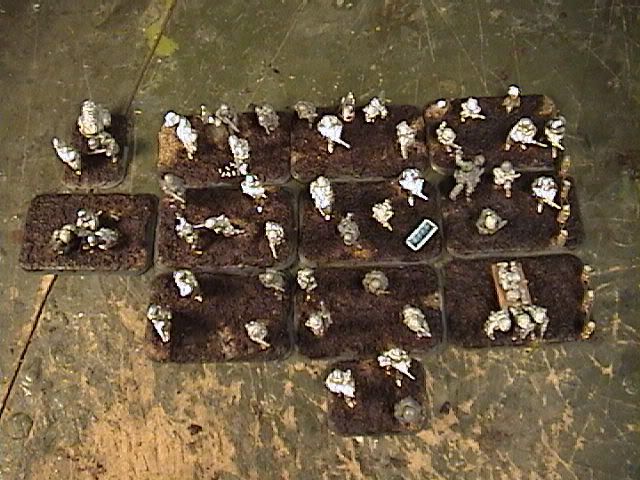
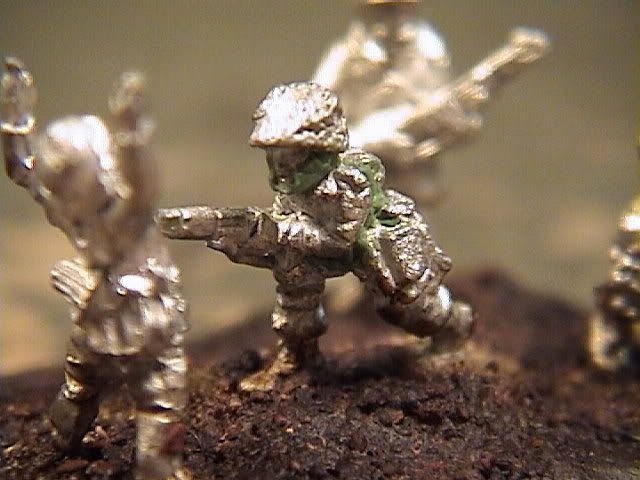
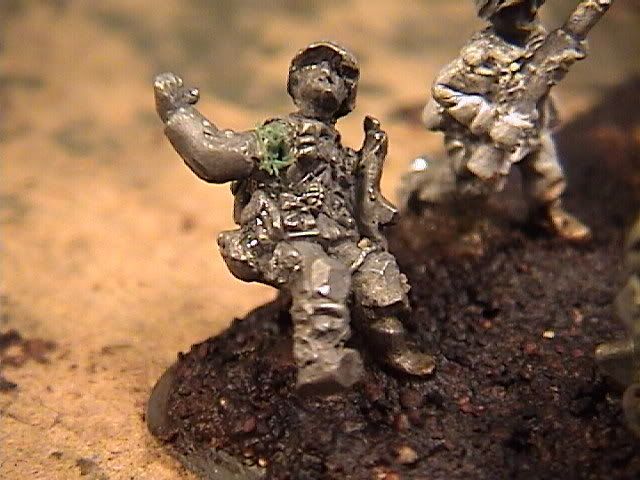
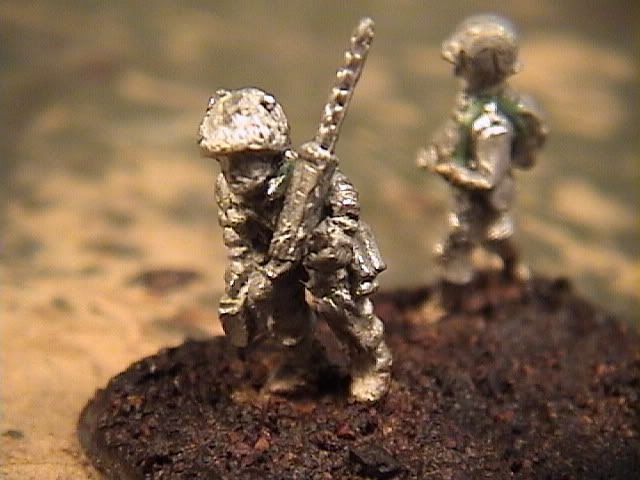
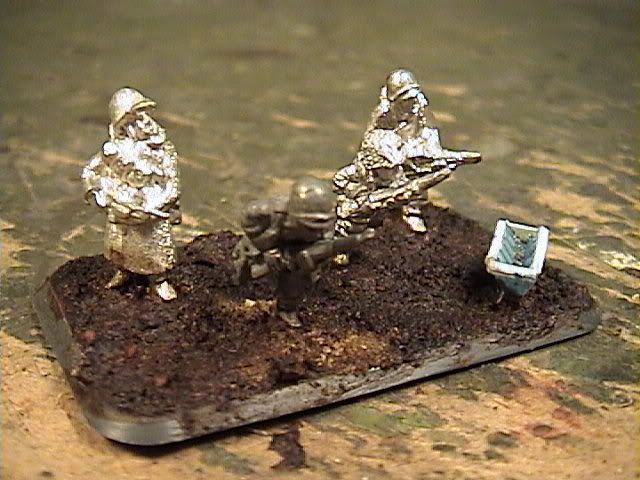
 platoons, I got to work digging in the weapons platoons supporting Easy Company. At this stage of things, I wanted to keep things very consistent in terms of the look and feel of the army, but I didn't have as much work with in terms of theming the individual teams -- the further you get from the rifle platoons, the less is seen in Band of Brothers. The mortar teams, if shown at all, are given only the briefest glimpses, while it is pretty hard to tell the .30 light MGs of the machine gun platoon apart from those of the rifle platoons. I also had much less to go on in terms of historical information -- in all my reading, I could only find a hand-full of names from the Battalion weapons platoons. As such, the Machine Gun and Mortar platoons are a bit more stylistic in nature, and don't conform quite as rigidly to my historical and design specifications as does the core of my force. On the other hand, the more static nature of the emplaced weapons meant that I could be some what more lavish in terms of the added details on each team, and I had fun coming up with small details to link each team in a platoon.
 Machine Gun Platoon:
By this time, I'd come up with a few ways to work that figure castings into the base work, with building it up for that little extra depth I needed for he fox holes. The simplest was to lay on about 4 pieces of card (I went a little deeper than with second platoon, so the guys would really get down in the holes) with the holes cut in the card and just glue the miniature on top of the whole thing, sometimes cutting one foot free of the base tab and gluing it on top of something else. Another interesting method (very useful for prone poses) was to cut a hole in the top piece of card for the base tab to fit into, they lowering it relative to the top level of card. I mixed and matched my way through the platoon, using each trick as seemed right and improvising along the way.
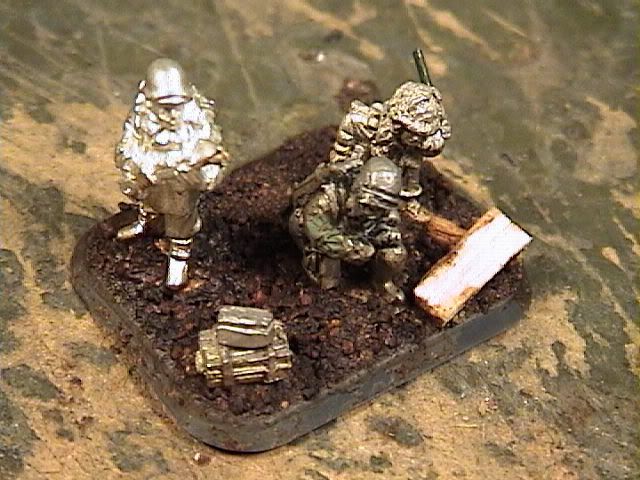
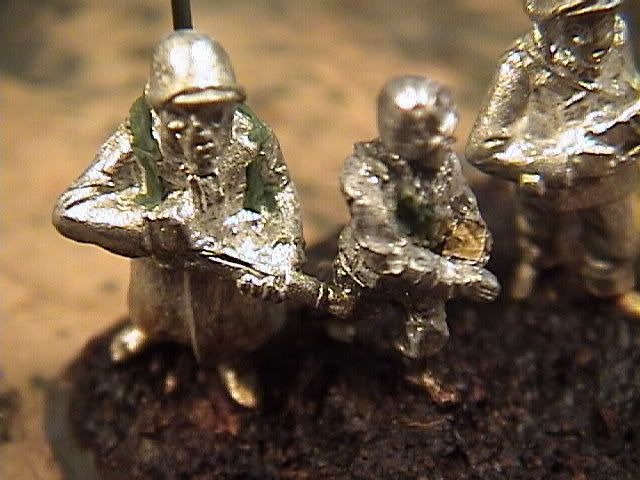
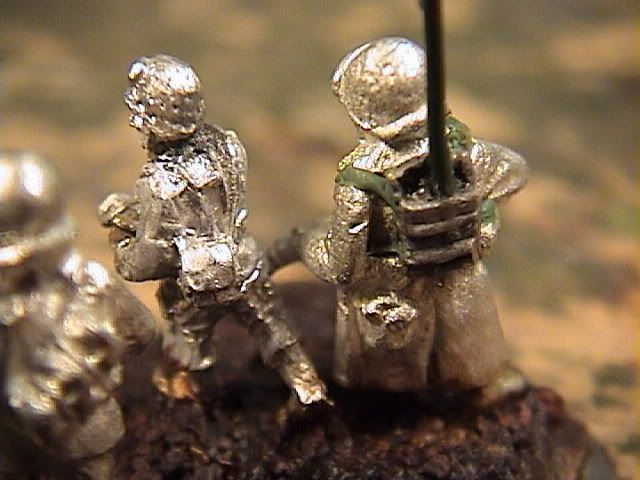
The command team didn't require too much extra work, just a bit of greenstuff and a wire for the antenna, plus one of the large storage crates that would be the identifying item of this platoon -- I needed something to distinguish these guys in holes on the edge of a wood from the guys in second platoon, also in holes in the woods. Other than the wooden crate, there would also be the number of men per base, three instead of five.
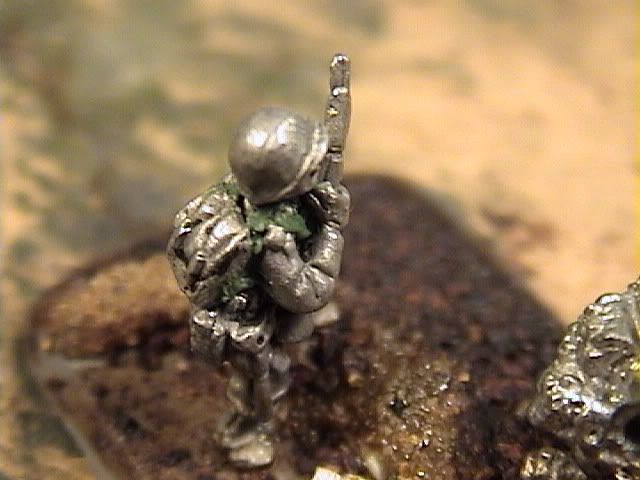
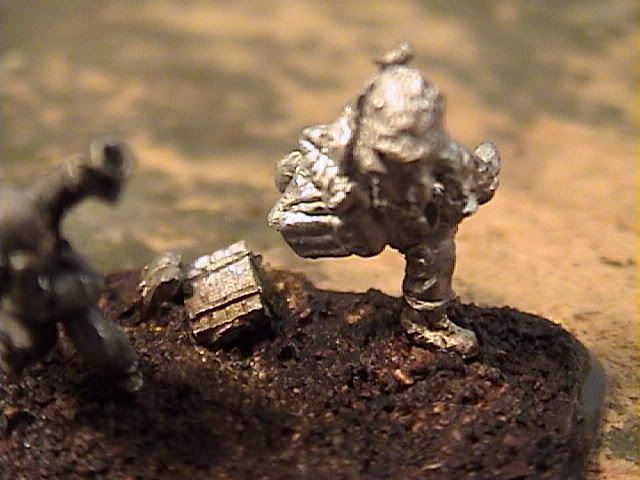
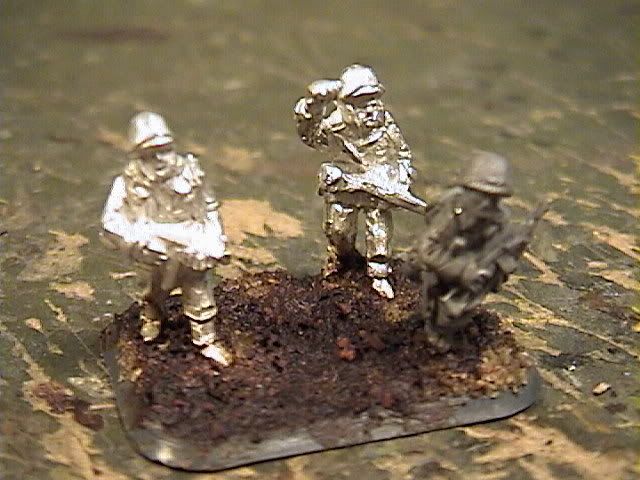
The bazooka men did get a few interesting details, like pockets and straps for the backpacks added to make normal US infantry look more like paratroops. I rather like this running guy:
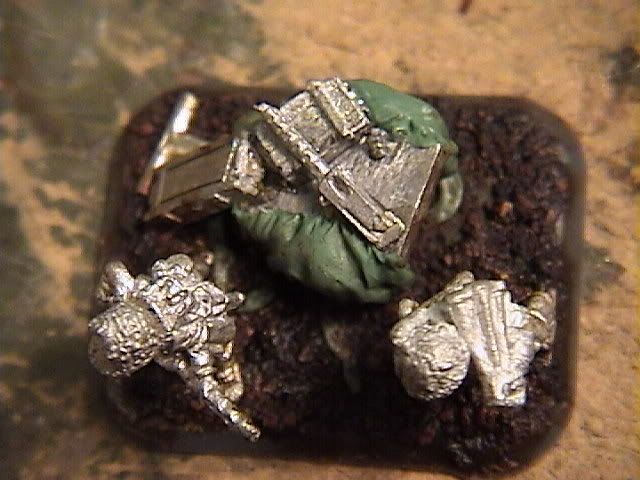
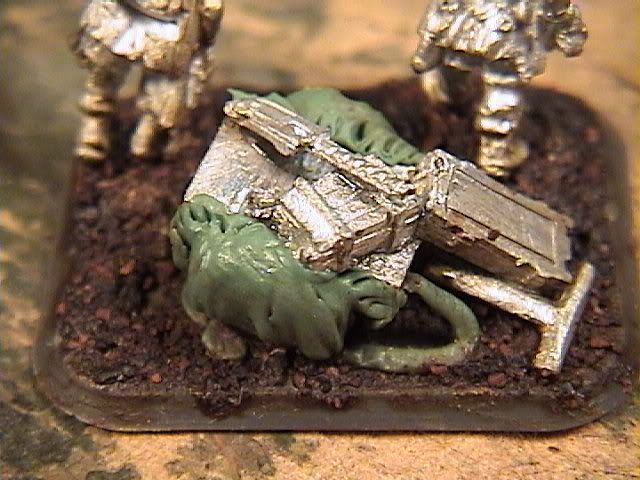
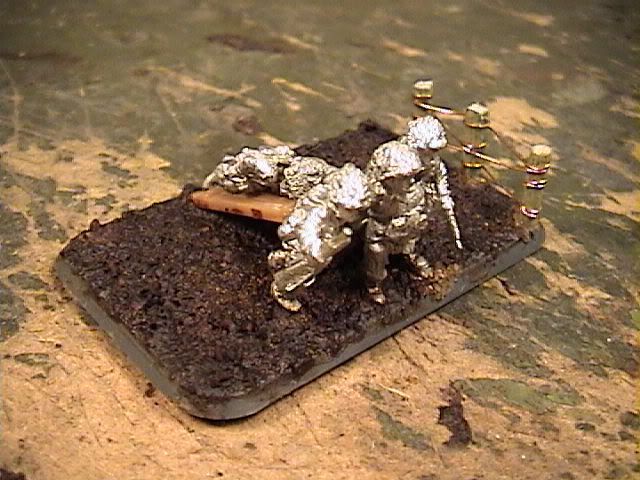
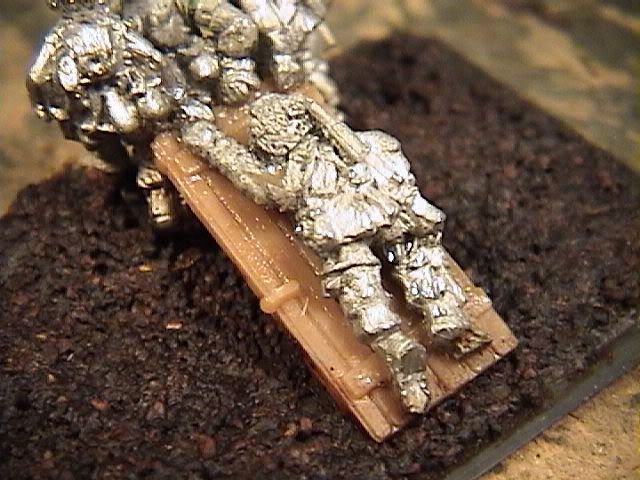
Even though it has no real game-play value, I decided to get a little creative about this platoons equipment cart. Rather than show them brining it up to the men or something, I decided to open it up and show the contents being distributed.
First I cut off the closed pack with a razor saw, then I made new open pack sides in green stuff before adding all the little bits of weapons and ammo, including the wooden crate of the MG platoon.
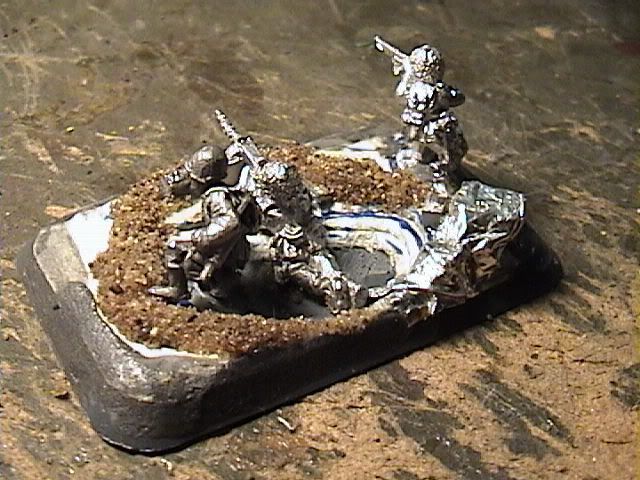
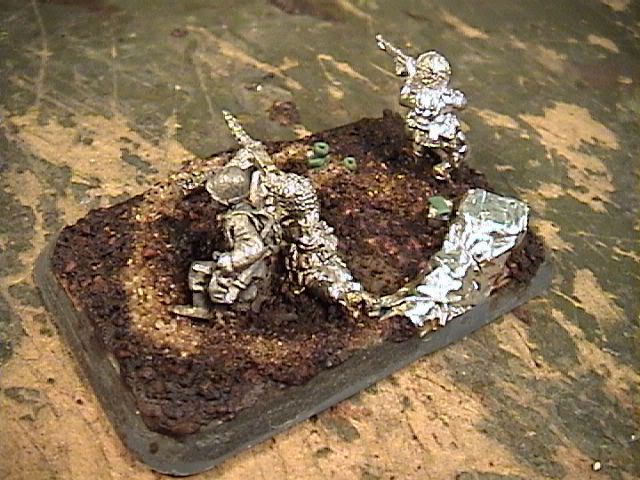
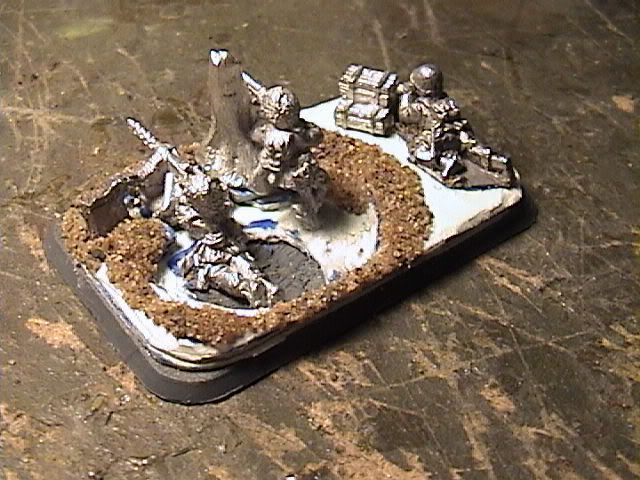
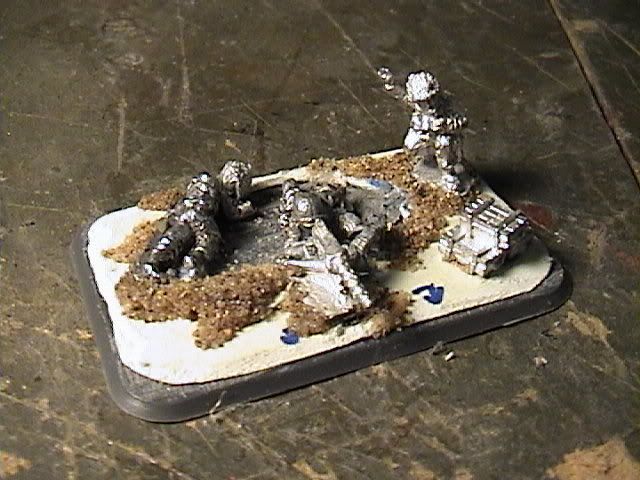
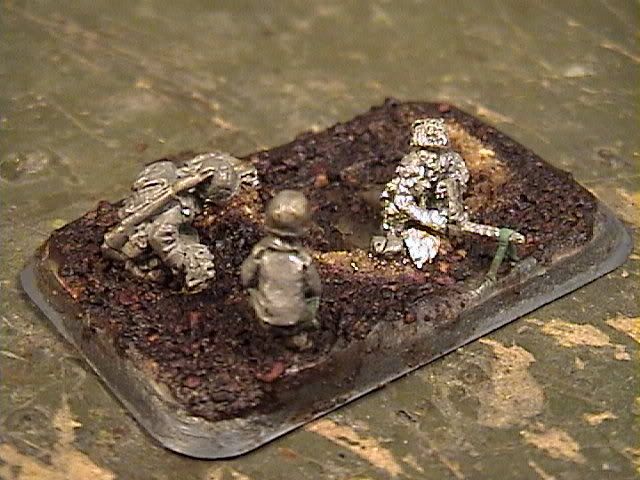
Now lets get onto the machine gunners. These guys are mostly from Battlefront, but I didn't limit myself to just the paratrooper gunners. I've actually got new and old paratrooper machine gunners (the poses are ever so slightly different) mixed together with normal US infantry guns with .30s. Most of the standard infantry gunners would require a bit of conversion to make them fit in with the paras -- just the usual stuff like back packs and cargo pockets. At this scale, those seem to be the big details that catch the eye and tell the view that they are looking at a jumper. This first shot of team 411, taken before the coffee mud was added, gives a good view of the card board layers adding the depth:
The edges are smoothed over with a two-part epoxy paste, and a ring of sand and superglue makes the raised lip of the fox hole. It looks pretty rough in this picture, but after it is covered in coffee it looks pretty good:
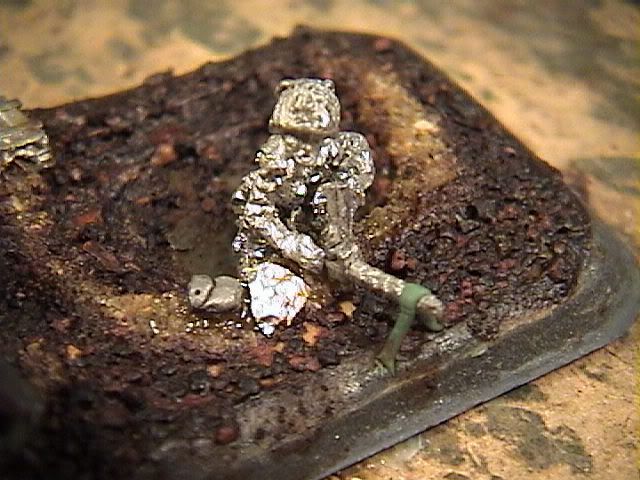
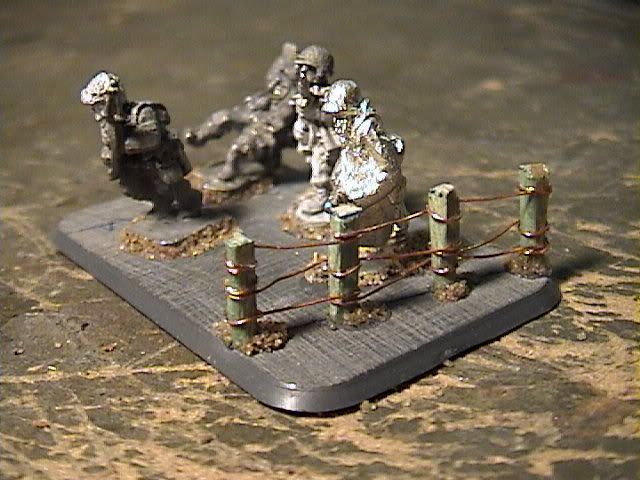
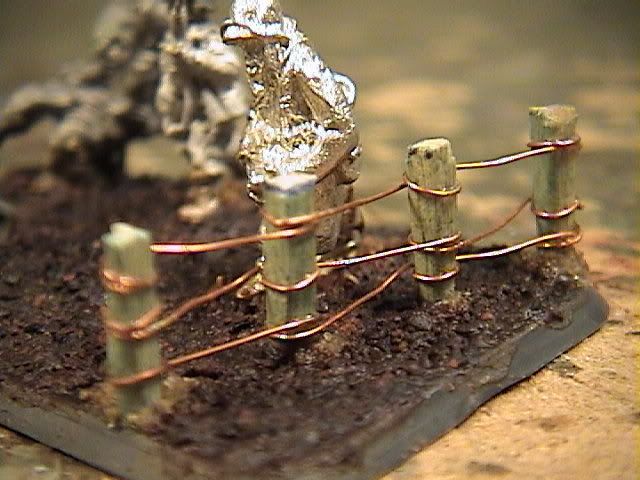
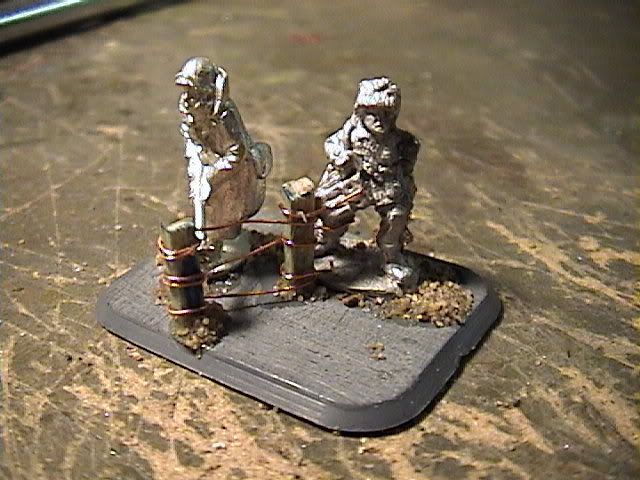
You can also see one of the details that would link this team to a shot from the miniseries, as in one sequence you could make out a large pile of supplies mostly covered with an army blanket, made here with a piece of aluminum foil. I've also added lots of green stuff details that hopefully, when painted, will look like ration packs and coffee cups on cooking burners. I hope I remembered to add some spent shell cases before I primered these...
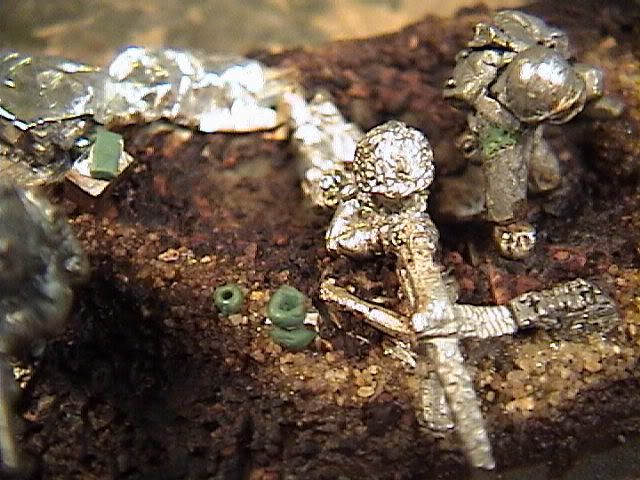
This next one, team 412, also shows the layers of card board well, plus some of the things I'd do to work the figures into it: the bottom of the hole actually extends down into the plastic base, cut in with a dremmel tool. I removed as much of the base from the legs of the gunner as I could, then bent him pretty sharply in the middle. His MG is resting on the edge of the hole, with the lip of glue and sand coming to meet it, while his feet are down in the bottom of the hole.
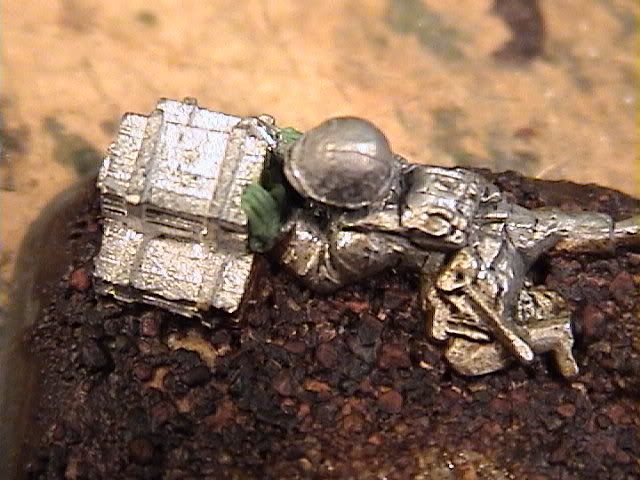
The miniature in the middle had had its base completely removed. He is mostly glued to the tree stump casting for stability. Its pretty easy to make the base tab disappear when it just isn't there! The casting on the far right of the piece has its tab down in its own little hole. This makes him look like he's laying flat on the ground in the finished piece. The casting actually started life as a gunner, but at some point I took his weapon away for some other use. Rather than waste the model, I just worked him in behind a stack of crates and gave him new hands:
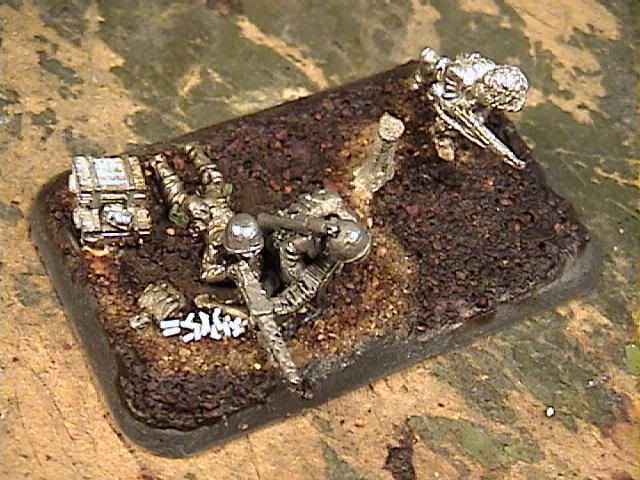
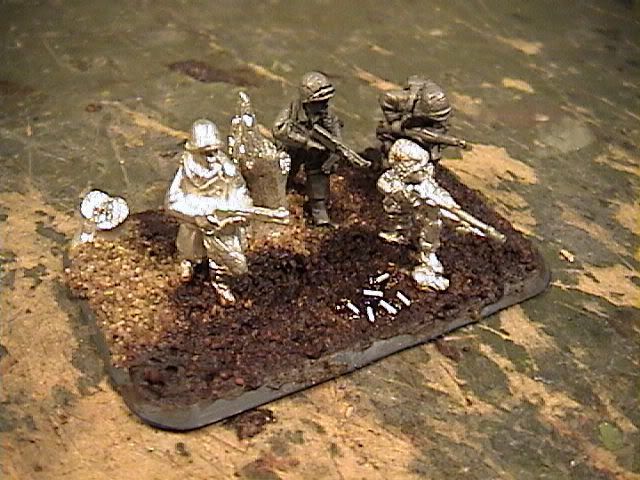
Ah, here are some of those shell casings I was looking for! This also shows one of my converted gunners. You can see the green stuff cargo pockets added in the second picture. The base tab on the standing figure was, again, hidden by cutting a hole in the top layer of card board to level it with the stand.
This hole isn't as deep as some of the others. The depth of the hole was really one of the few things I had to play with on this platoon, since so much of the base elements are sort of dictated by their combat role.
Since the gunners are all pretty much doing the same thing, I had to look to the other men to provide some of the variety and try and tie the teams into various shots from the miniseries. One scene that caught my eye involved someone crawling up the back of the hole:
You may notice in this and the previous picture that I'd sometimes place the back packs on the ground instead of the figure. As long as there is a back pack on hand I think the effect works to make the men look like paratroopers -- they couldn't have worn all their gear all the time! There are a few other details on the pile for this one, such as the big rolled up tarp, some ammo boxes, and of course the spent shells. Team 413's gunner has spent a few rounds...
The four teams in the first MG section all natch each other really nicely, but by the time I got to the second section, and had made all the MG teams in the rifle platoons, I was running low on ideas. I was also running low on un-used scenes that prominently featured machine guns. There were still ideas I wanted to use, they just didn't go together quite as nicely as the stuff in first section did. One idea I'd wanted to use from the beginning was someone servicing their rifle, and that idea ended up in team 421.
The guy in the hole has had his base completely removed, along with his knees, and about half the thickness of his lower legs -- they are still there when viewed from above, but it you could see him from the side he'd look pretty messed up. But its pretty hard to get a good view from that angle, and it was the only way to bring him down enough for his gun to be near the ground without everything else being awkward.
I carefully cut open the breach on the machine gun and opened it up, bending his arms in to look like he's doing something with it. I also added a green-stuff bipod, as it looked like one was present in the scene that inspired this piece. The other two castings are worked low into the ground with a pair of holes in the top layer of card board, and the edges are smoothed over with epoxy paste before the the coffee covers everything up. They are hard to see, but the artillery crew man with his back to us has cargo pockets added with green stuff to make him look more like a paratrooper -- I'd have given him a back pack, but the guy wasn't wearing one in Band of Brothers.
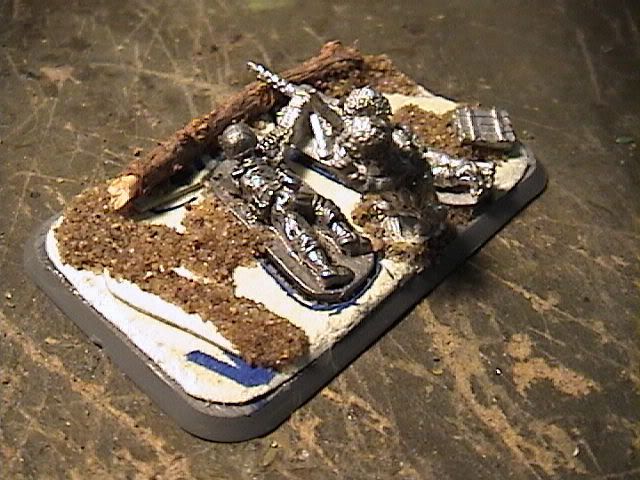
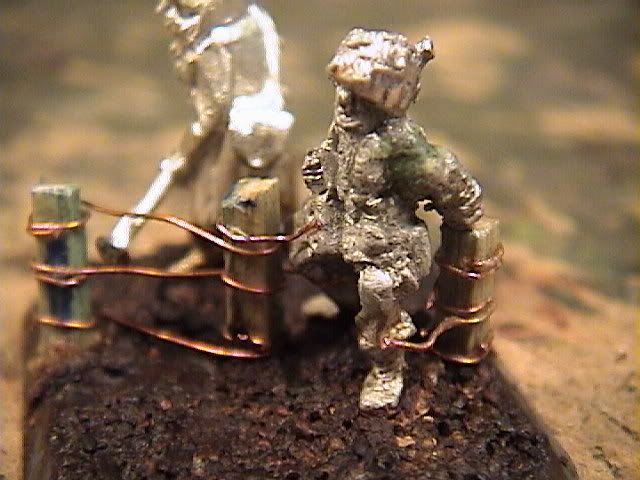
I'm pretty sure that in the context of the mini series they were supposed to be members of the rifle platoons, not part of the MG platoon, but hay -- I'm running out of ideas here! So I've got two guys taking cover behind fallen logs, one with a read wooden stick, the other with a plastic model tree trunk:
With the real stick I again cut small holes to fit the base tabs into, and then built up sand and superglue to blend things together. I didn't have to worry about that as much with the plastic tree, since I used Old Glory machine gunners, and the base tabs on them were actually pretty thing:
As always, green stuff, spent shells, sand and coffee to taste:
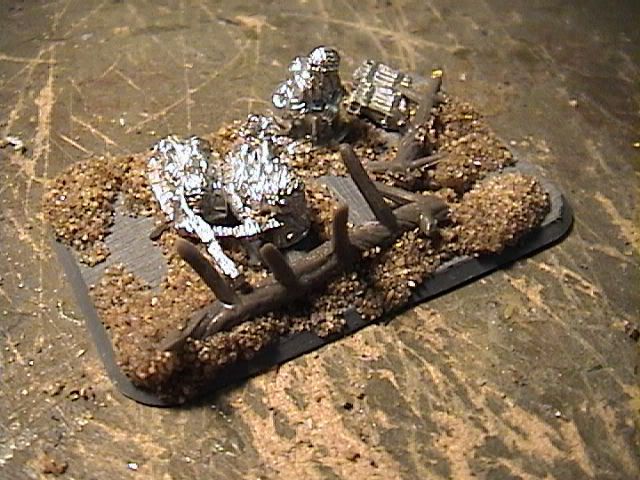
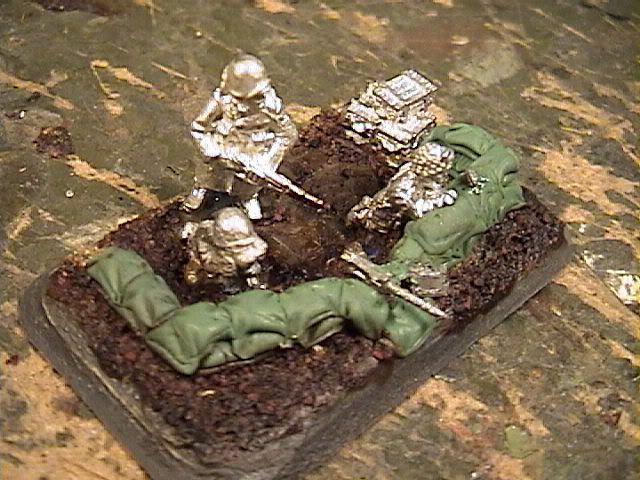
This last team doesn't really match the platoon, but I liked the scene in the miniseries and wanted to include it. It doesn't look like much in this first picture...
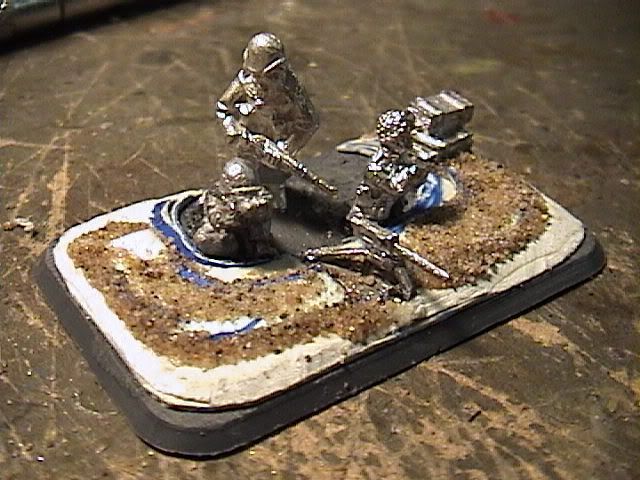
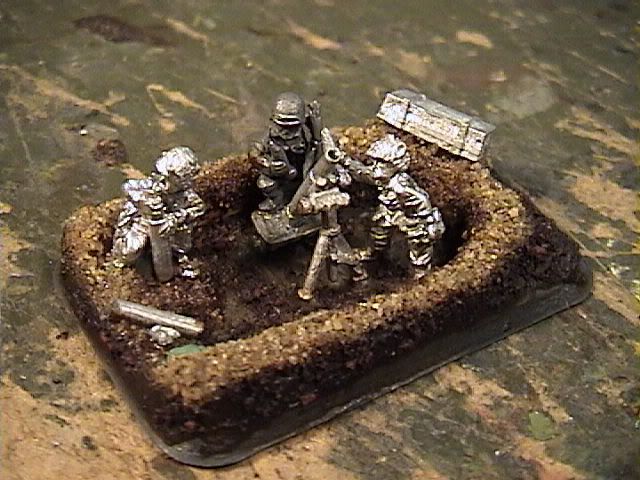
... but it comes into its own with the addition of all the green-stuff sand bags. I also really like the loose hand grenade on top of the low wall. You can actually see the grenade better in the small picture at the top of this post.
Mortar Platoon
The mini-series really didn't give me much to go on with the mortar platoon. Aside from a few shots of individual 60mm mortars going off, I think there are a total of two shots in the entire miniseries were they briefly cut over to several mortars firing as a unit. I'm not even sure if they are showing 60mm tubes or 81mm. But, hay, ya do what you can:
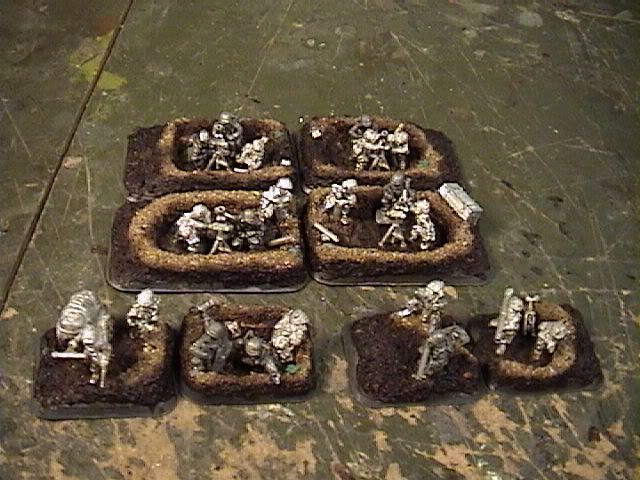
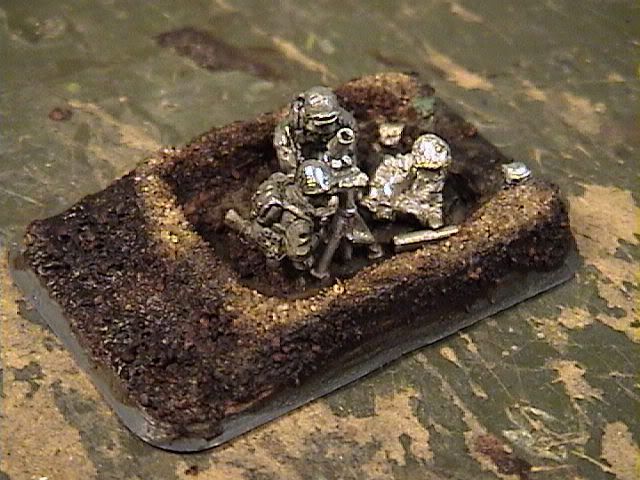
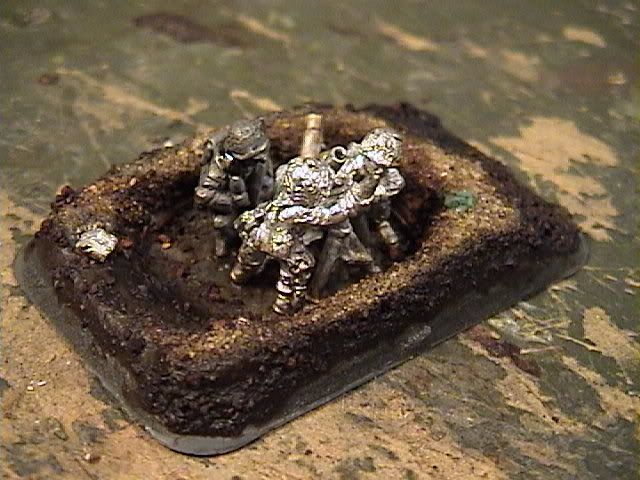
Based on one of the better shots of mortars in the show, I decided to dig them in all together in a semi-diorama style. Would this be smart to do on the game table or real life? Nope -- one good artillery barrage and you loose the whole crew. But it does sort of look good, so what the hell. As you can see, I did it as if the mortars each had their own hole, but pairs of gun crews sort of worked together, with the officer using his own hole, and the bazookas splitting one.
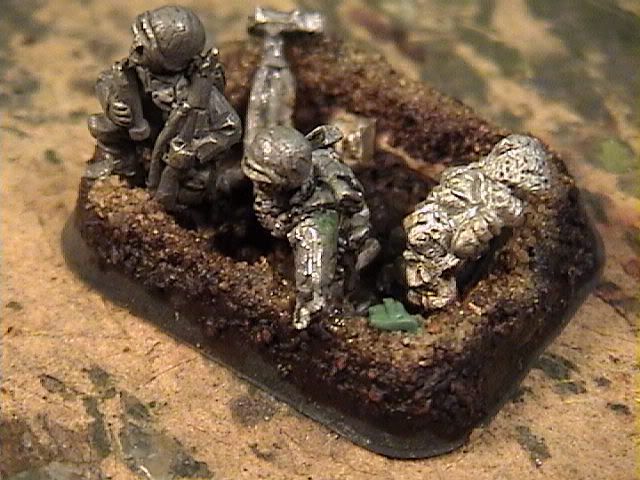
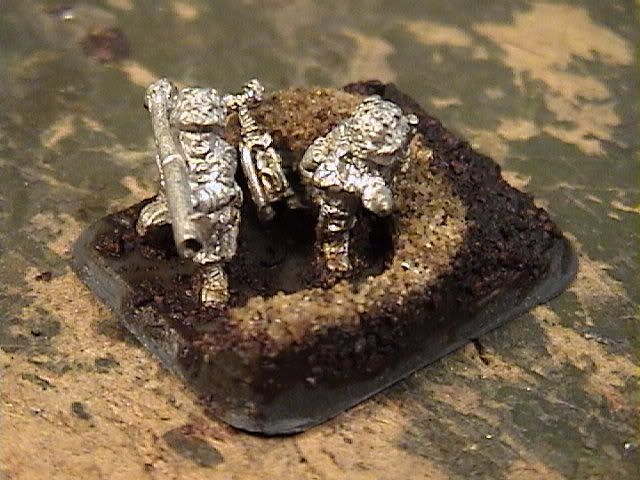
In these two shots of the command team, you can see some of the details I used to link all the teams in the mortar platoon. The extra mortar bipod is pretty obvious, but there is also that little piece of greenstuff on the edge of the foxhole. Its a representation of the special leather pouch used to store and transport the sites for the 81mm mortar. I added on of these to each team.
The hold itself is fairly simple, just a ring made up of a few layers of card board, smoothed over on the outside with epoxy paste and topped with a bit of superglue and sand. All three miniatures have had their base tabs completely removed to better fit down inside the hole, and are glued to both the bottom and the sides for stability.
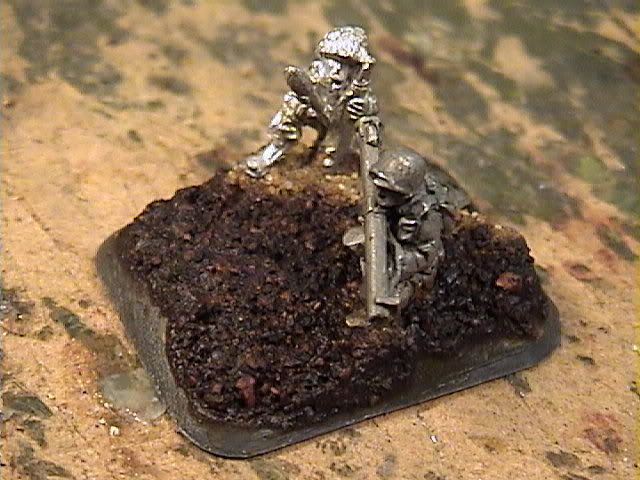
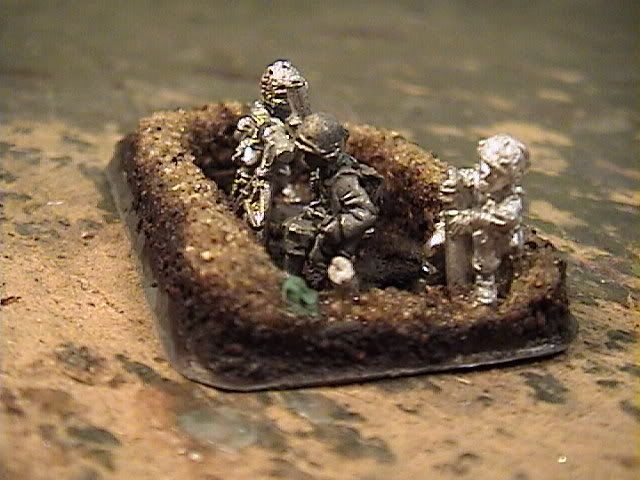
The two bazooka teams were done the same way, and the two stands push together into a single hole. For the first team, I left the base tabs intact, with the miniature in front getting a hole in the top layer of card board to sit down flush into, while the other is standing on top of the whole thing. They got a mortar baseplate (not really visible in this picture, its down in the hole) to link them into the platoon.
The second bazooka team is down lower in their hole -- base tabs were completely removed for this effect. They got another extra mortar bipod, so you'd quickly be able to tell what platoon the team is a member of.
By now, the technique I used to make all these holes should be getting pretty routine, so there isn't much to really say about the mortar teams themselves. Each team got one of the fancy leather site cases, as well as a tube of mortar ammunition and a few random spare bits of kit in their holes.
The lips of the fox holes were built up on three sides with super glue and sand, but I left one side a bit lower, as if each pair of mortar teams were working together to dig their holes.
Most of the base tabs were completely removed, but some of the miniatures were set so that one foot was up on the side of the hole. Many of the crew miniatures were used unchanged, but several were converted slightly -- mostly bent arms -- to make them a bit more dynamic. I like the look of a shell about to be dropped into the tube.
As was the case through most of this force, I had enough packs to do some mixing. The mortar platoon was no exception, as I mixed in the old and new versions from Battlefront, as well as a few other anti-tank and artillery gun crew figures.
