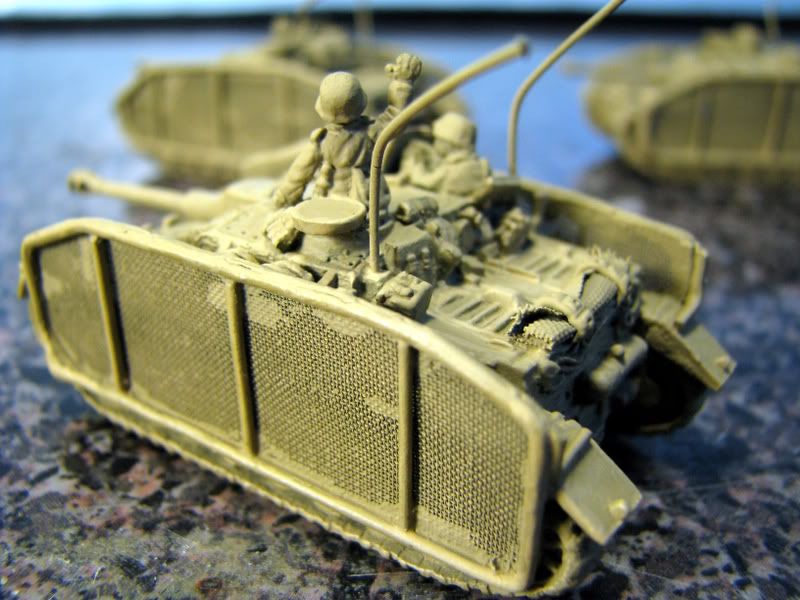
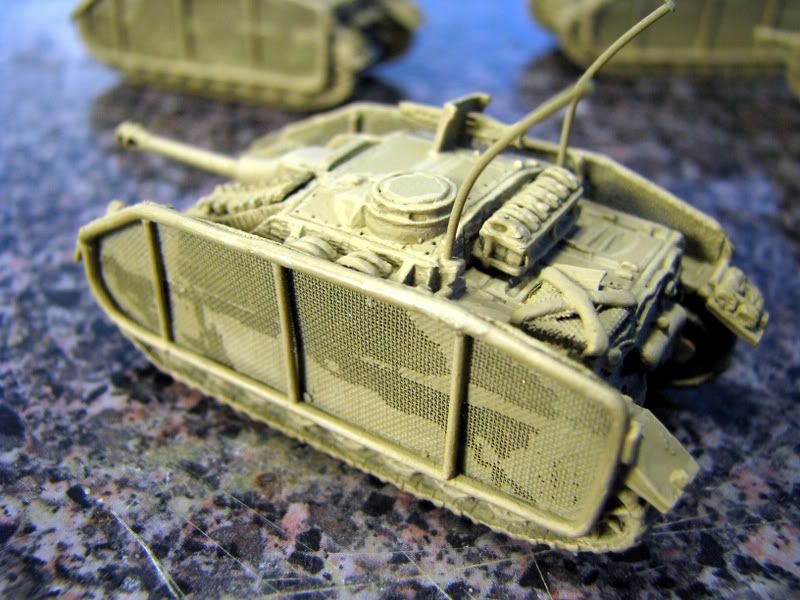
In these few, painted with just an air-brushed basecoat (and maybe a little highlighting), you can see how bad some of it looked. Here's a closeup:
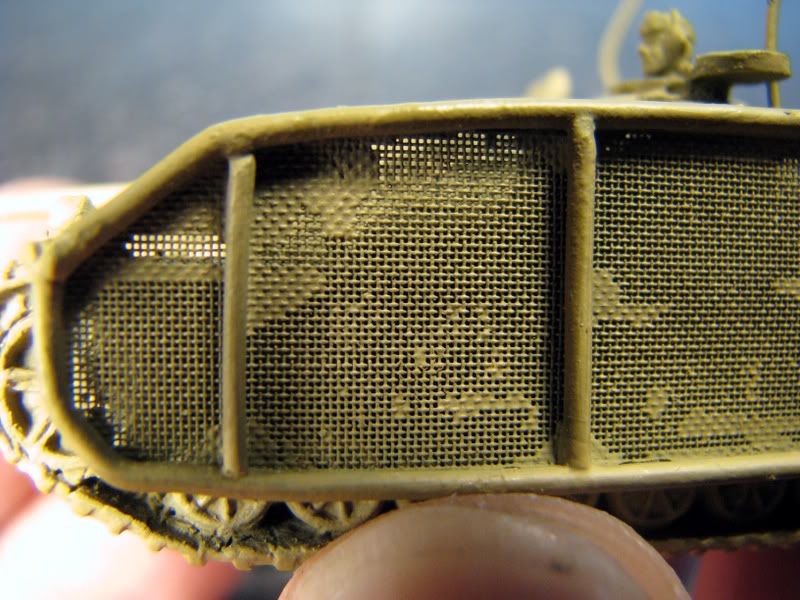
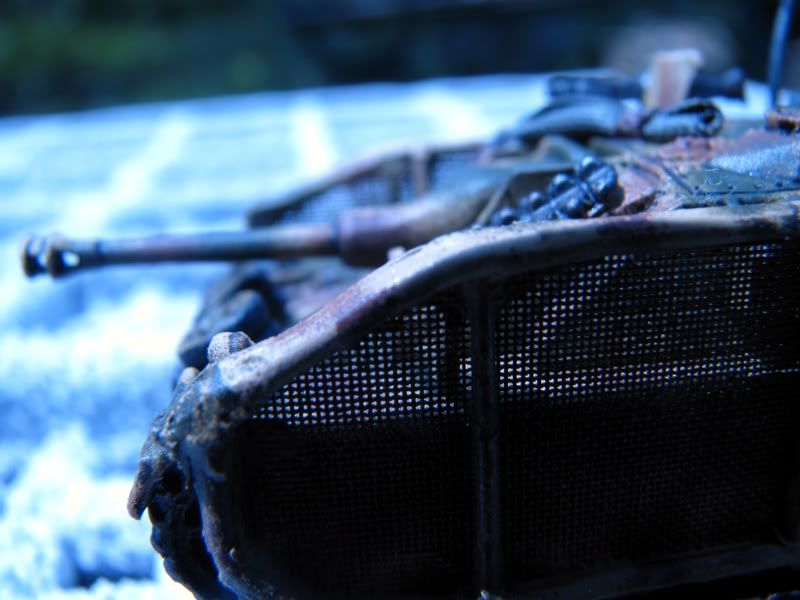
Basically, what you are looking at is superglue from when I mounted them. The paint didn't fill in the mesh, but the glue sure did. It just wasn't really visible before the primer went on. I'm not sure how this could have been reduced, you have to glue them on, right? This glue may also have come from when I first made them, which would make sense. Some places came out worse than others.
I figured I'd make the best of it, and just go ahead and paint them up. It doesn't really come accross very will in these pics, but I used the camo patern to down-play the filled-in mesh. You can still see through most of it, as these other shots show. And spraying the darkest brown right over the glue-filled bits just made them much harder to notice.
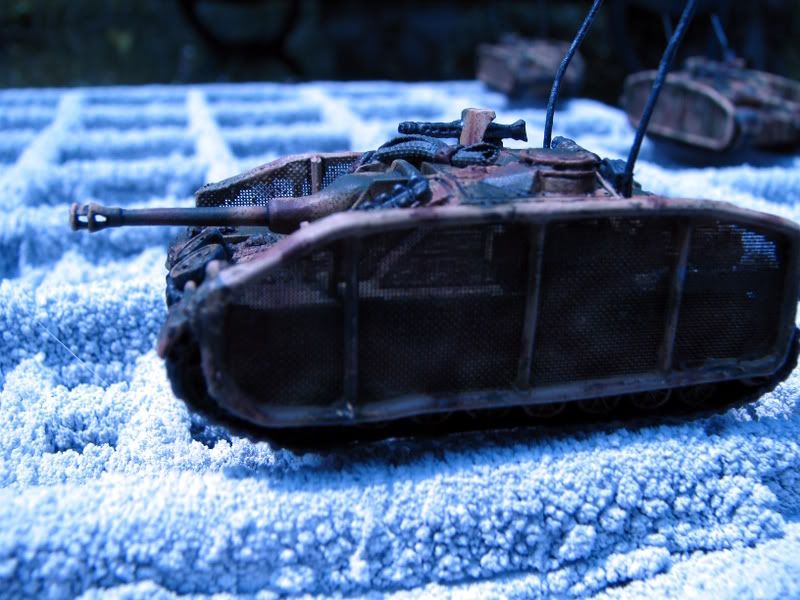
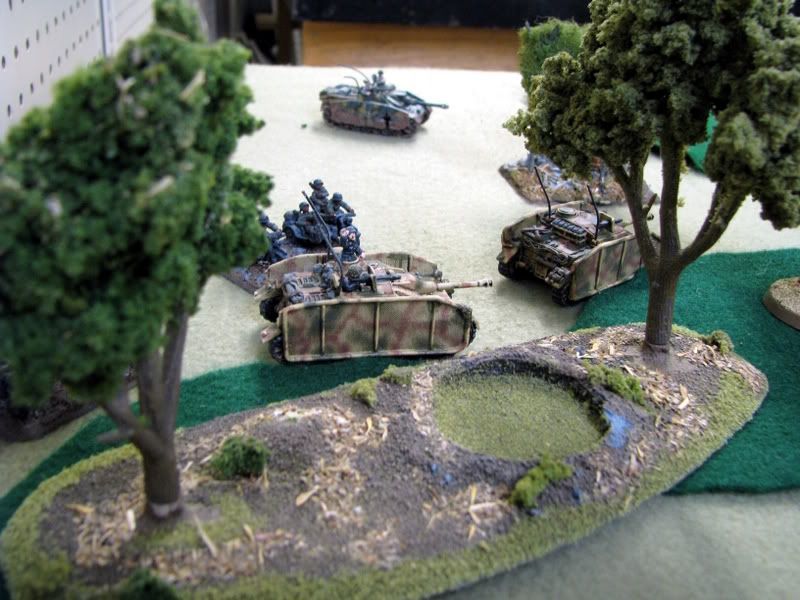
And finally, an on table shot from our last game:

1 comment:
I was considering doing some mesh schurzen as well on some of my tanks, what did you use for the mesh? Most screen that I see out there isn't fine enough to seem to scale.
Very cool stuff!
Post a Comment